Here is the original build thread.
https://talk.newagtalk.com/forums/thread-view.asp?tid=767193
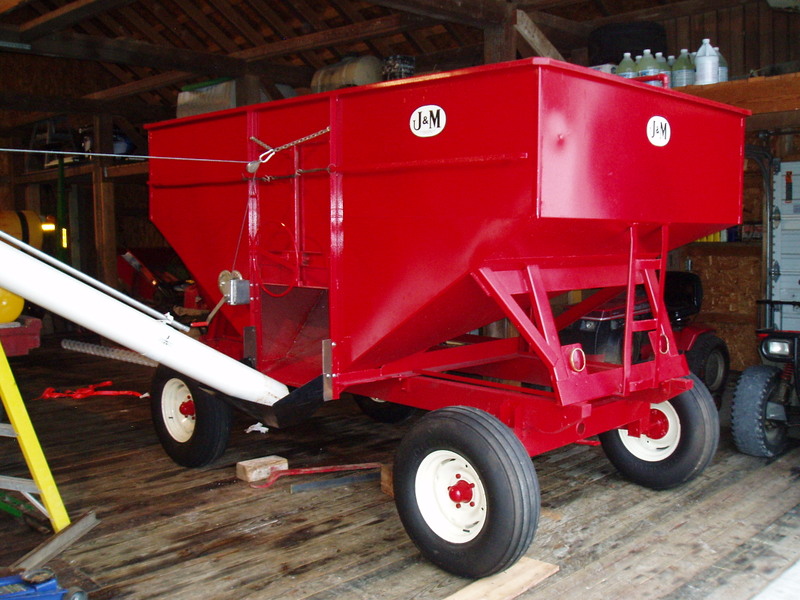
Now many of you here are probably familiar with my overkill builds but I like to build stuff to pretty much last forever and much stronger than what is actually needed and feel if it is worth building it is worth building right (or at least to my standard of right). Most of these auger mates end up bolted through the thinner metal uprights on the newer wagons and that is actually where J&M shows them as being mounted on the 250 and larger wagons. (This image courtesy of the web) 
Those newer models have a little more meat in that area and they have vertical upright pieces but I felt it was too much for this older style wagon and the supports are slanted as well.
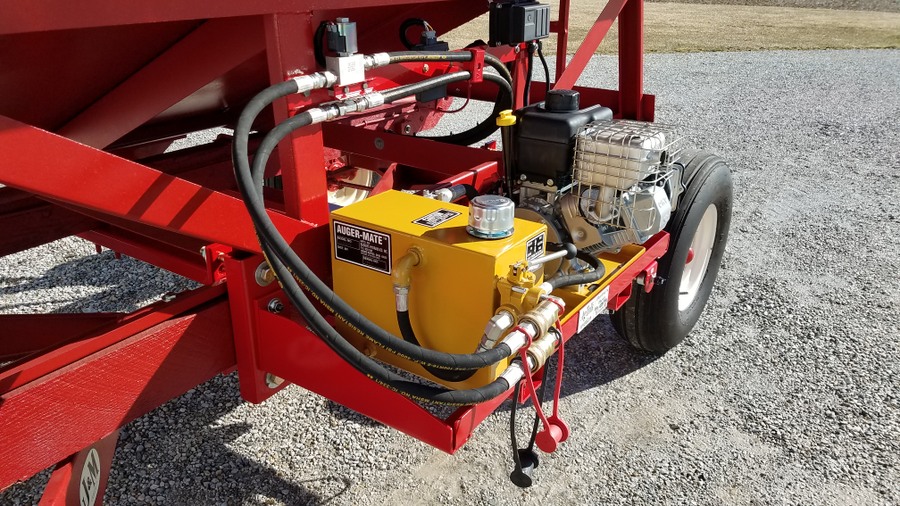
The augermate is pretty heavy. I think they list it at around 130# dry weight. Add in the cradle, the battery, fuel and oil, and 5 gallons of hydraulic oil and your probably getting up to the 200# mark.
I really was not keen about drilling more holes in the wood runners especially mid span and felt 200# on the side of one runner was probably more twisting force than what I wanted to see.
Earlier I had asked about the wooden beam runners and attaching to them to support the auger mate off to the side of the wagon.
That post is here.
https://talk.newagtalk.com/forums/thread-view.asp?tid=807692
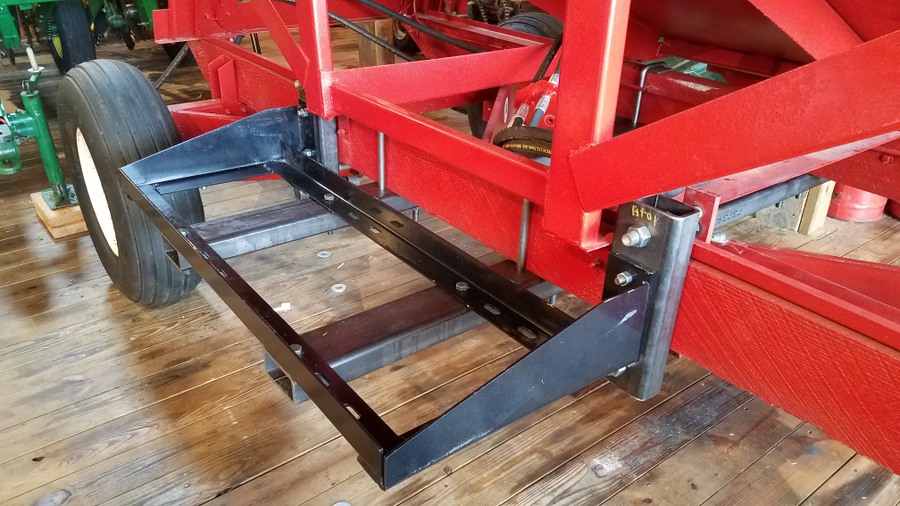
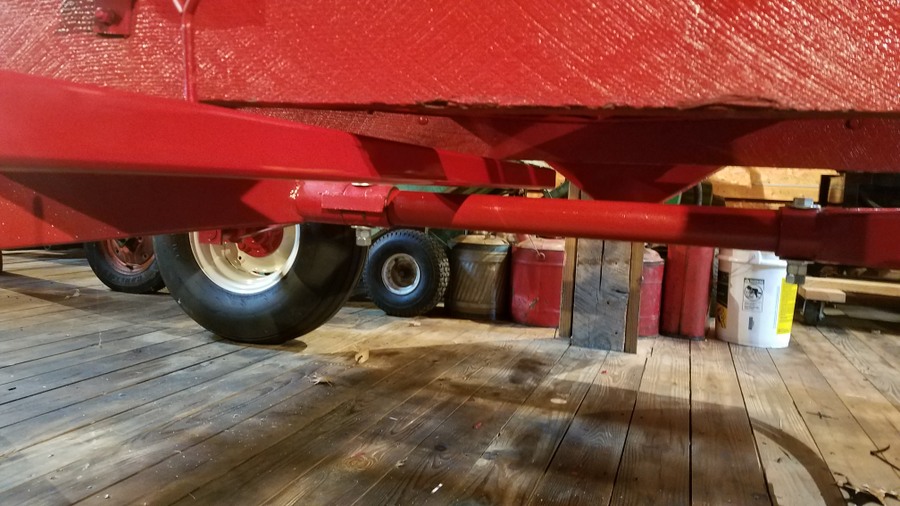
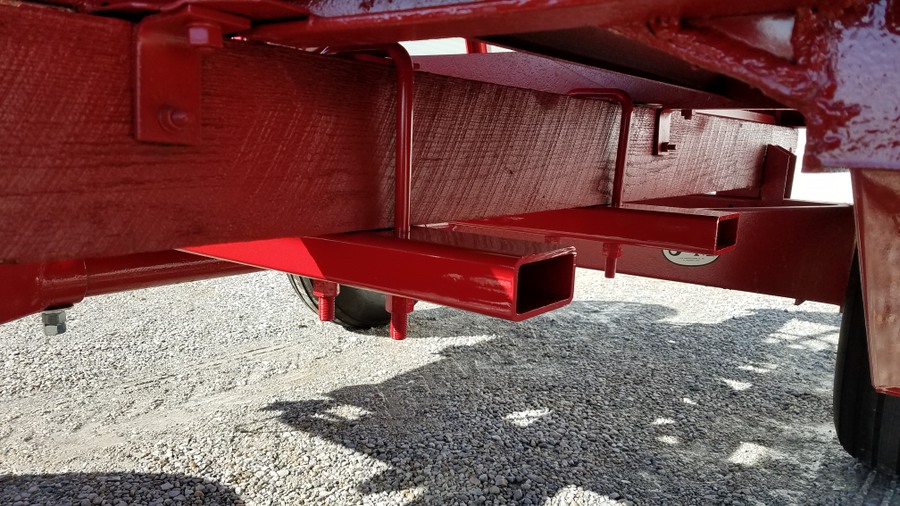
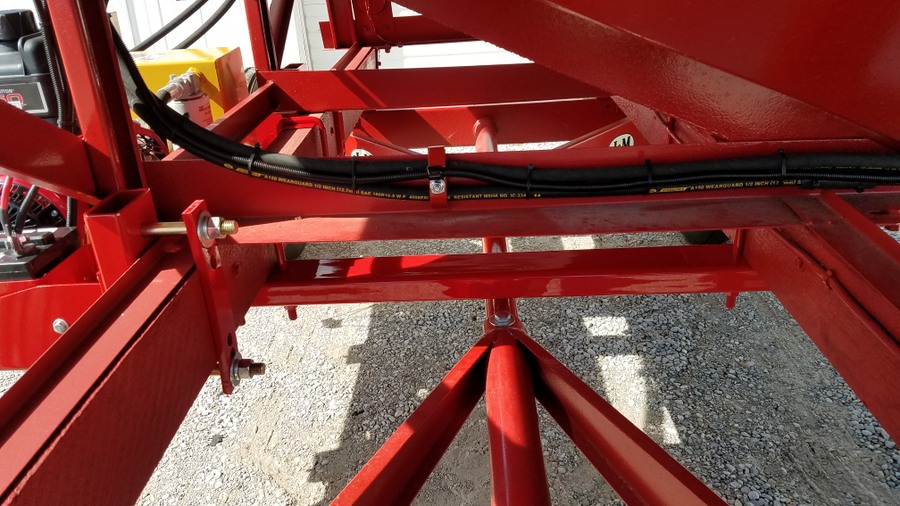
I decided that with the room I had between the coupling pole and the wooden sills I would utilize some 2"x4"x1/4" wall rectangular tubing to span across underneath the wood runners and use square U-bolts to pull them up tight underneath.
I bought some tubing locally and got started in measuring things out. I also could not find any square U-bolts locally that were a snug fit over the wooden runners so I found this place on line and ordered exactly what I wanted. They are a fine thread and grade 8 so I will never have to worry about them.
http://www.stengelbros.com/u-bolts/
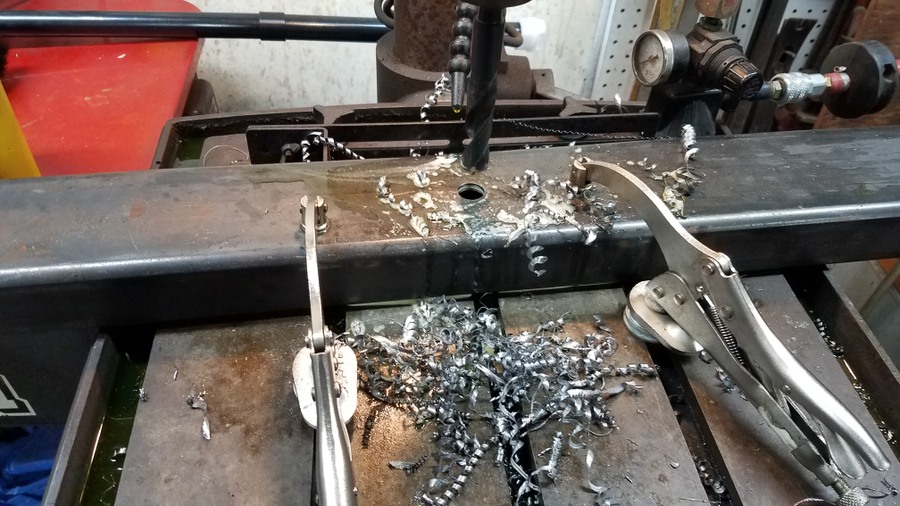
Then I got things set up at the drill press and began drilling holes for the 2 U-bolts for each tube plus the mounting holes for the J&M cradle for the auger mate. I measured carefully and drilled the holes from both sides of the tubing and they all lined up just fine.

Next I cut a couple shorter pieces of tube to serve as spacers to get the cradle away from the wood runner to provide clearance for the auger mate unit. I had a couple heavy strap pieces with multiple holes off an old Kasco plow drag that got re-purposed for the other 1/2 of these short sections of tube to clamp to the runners. 
I drilled holes in the short pieces of tube to match the J&M cradle and ended up using short bolts inserted from the inside of the tube protruding out to bolt the J&M cradle on.
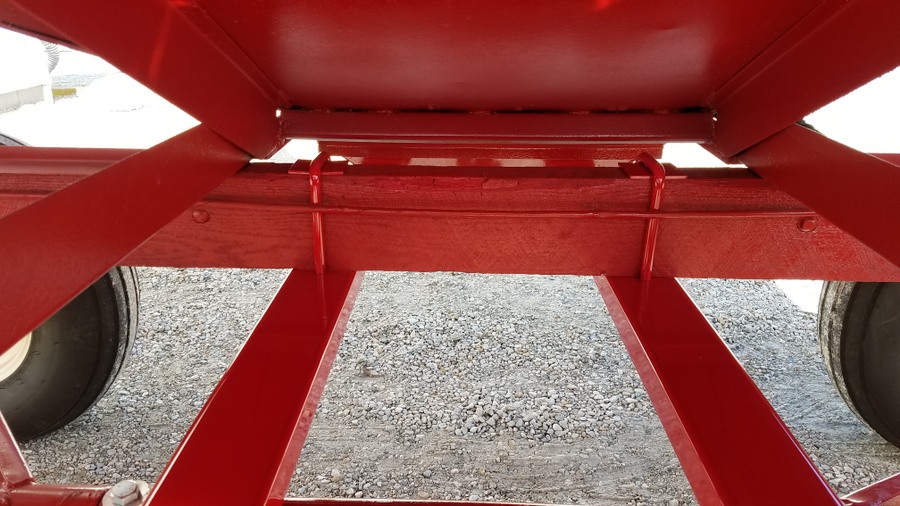
I added some small square plate for the U-bolts to draw against to help spread the clamping load over more area instead of just digging into the wood runners.

Next, I cut some strips of rubber from a mudflap to mount between the auger mate unit and the J&M cradle. I used 4 strips with double thickness or 8 total for better vibration isolation. This covered more area instead of relying on just the 4 pads that I inquired about in this thread.
https://talk.newagtalk.com/forums/thread-view.asp?tid=834859 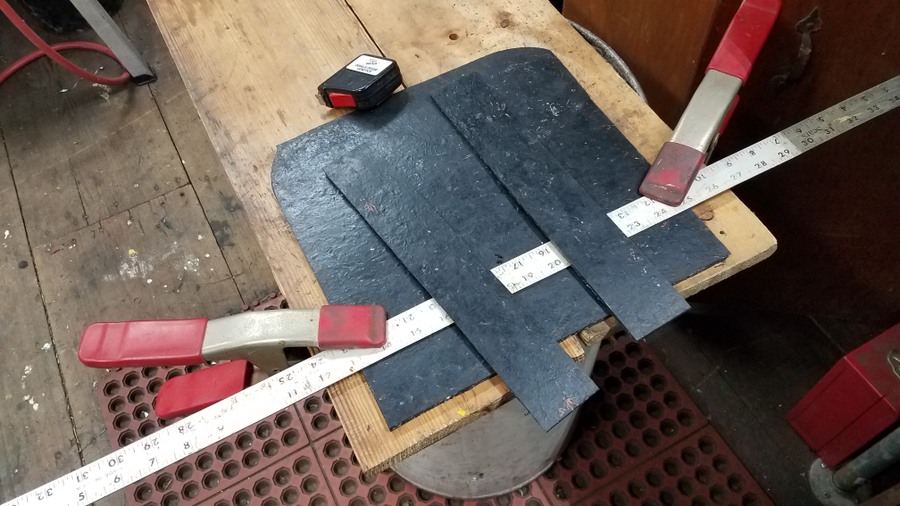
I had originally thought just the auger mate would be all that I would add. However, after discussing things on Ag Talk it became apparent that a hydraulic solenoid control valve and wireless remote control would be a couple more nice editions.
https://talk.newagtalk.com/forums/thread-view.asp?tid=835064
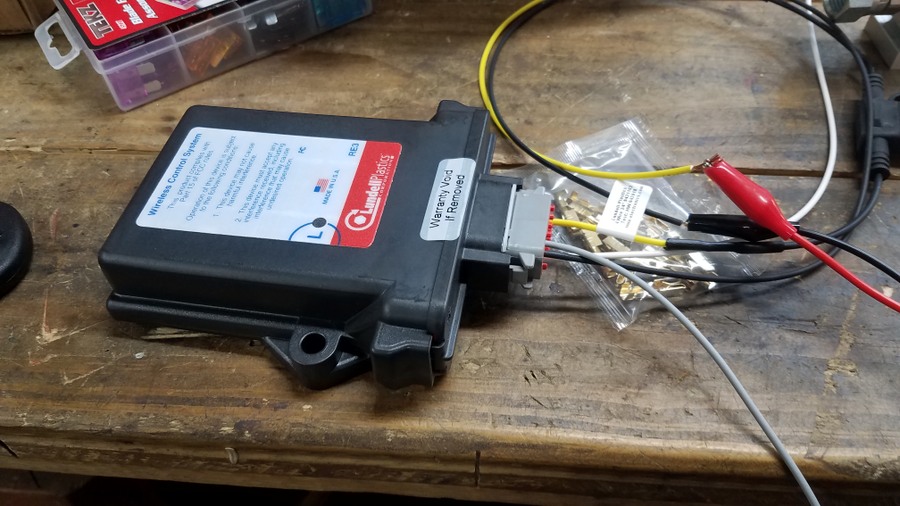
Then we got into the discussions on the Lundell remote control, latched vs unlatched and using relays to limit the load on the wireless remote.
https://talk.newagtalk.com/forums/thread-view.asp?tid=835762
https://talk.newagtalk.com/forums/thread-view.asp?tid=837210
I decided not to cut up the original control wire for the solenoid valve. This way I still have it complete in case of a remote control failure later. Just unplug the remote control and plug in the harness it came with. This led to asking about where to find pigtails with the Deutsch connectors.
https://talk.newagtalk.com/forums/thread-view.asp?tid=835964
Here is where I ended up sourcing the extra pigtail for the solenoid control valve.
https://www.amazon.com/gp/product/B07G2VML59
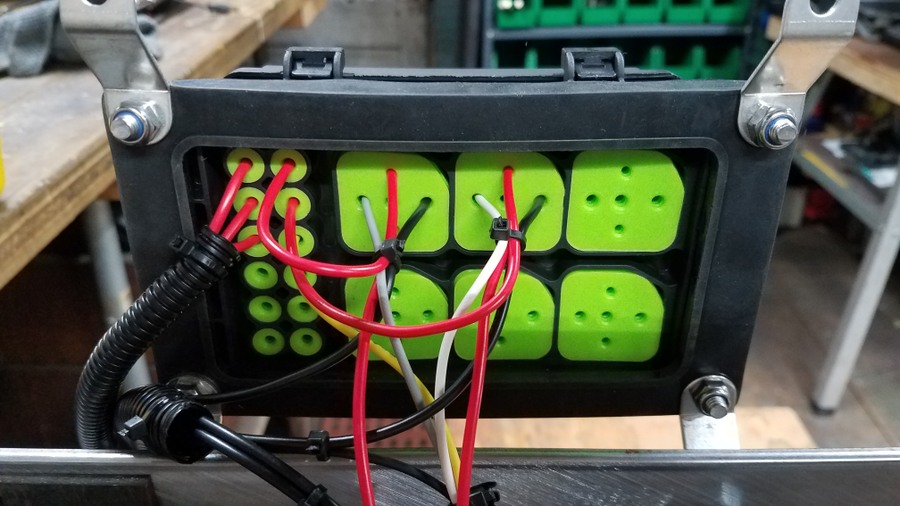
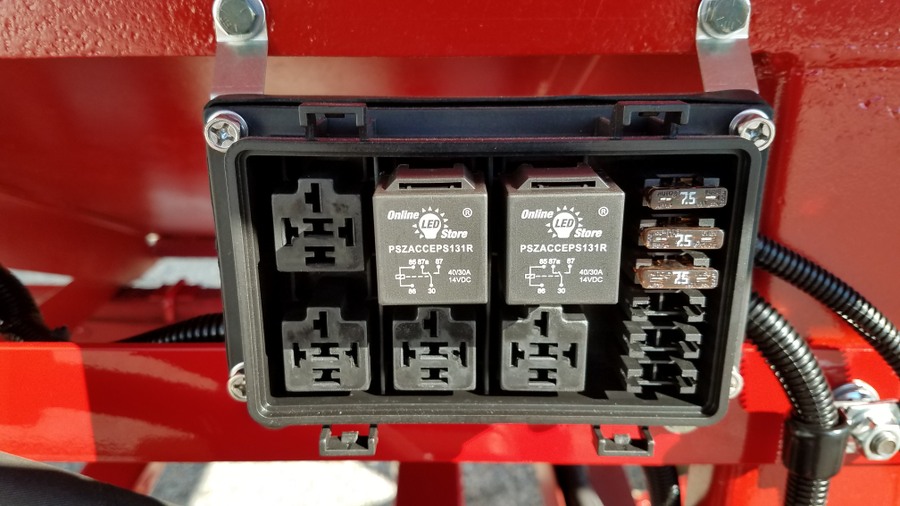
I also took a chance on Amazon and bought a sealed up relay/fuse box for mounting the relays and fuses out of the elements. Its a good tight box with a lid seal that came with all the crimp on connectors that lock into place in the box with tabs and very good seals for the wires going in the back to the fuses and relays.
Here is the relay box I went with.
https://www.amazon.com/gp/product/B07MR64XK1
Here are the relays.
https://www.amazon.com/gp/product/B01KVZ2MU4
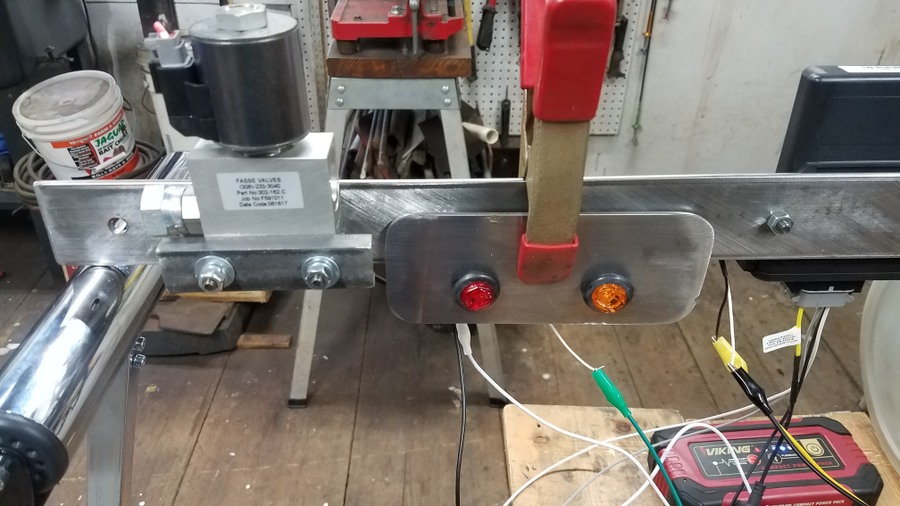
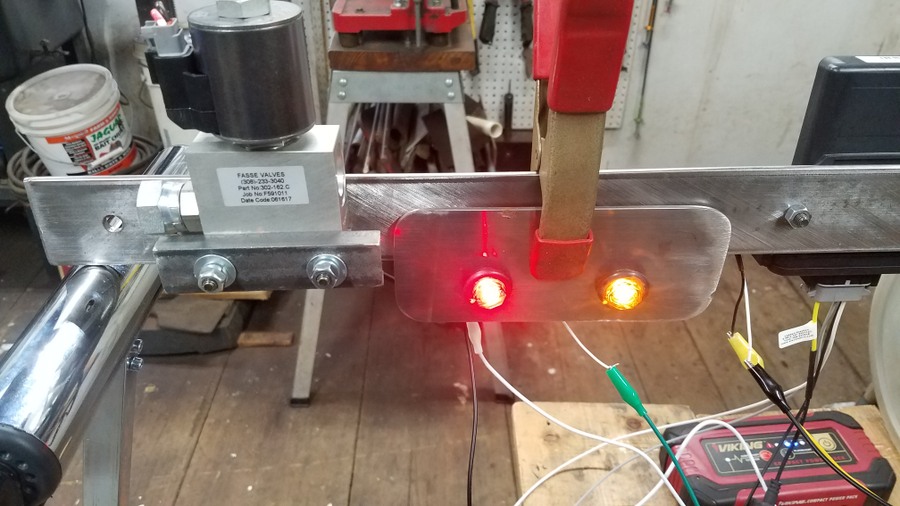
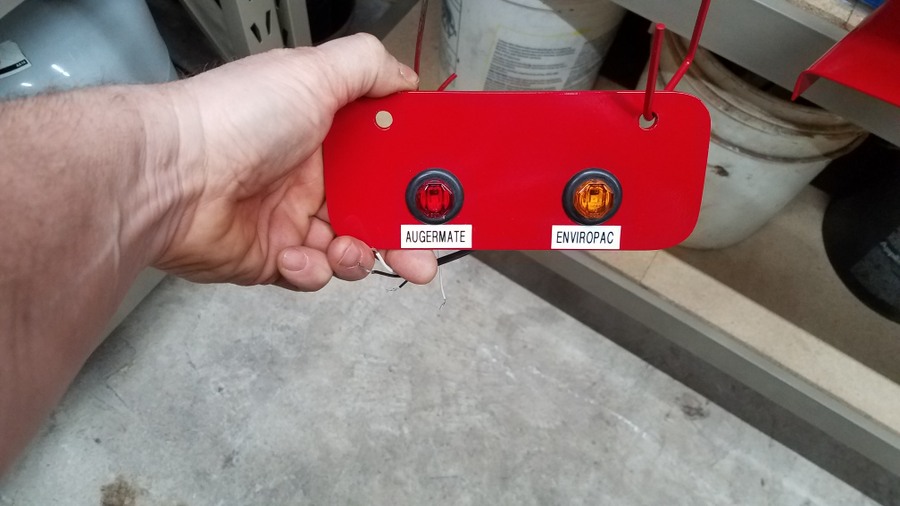
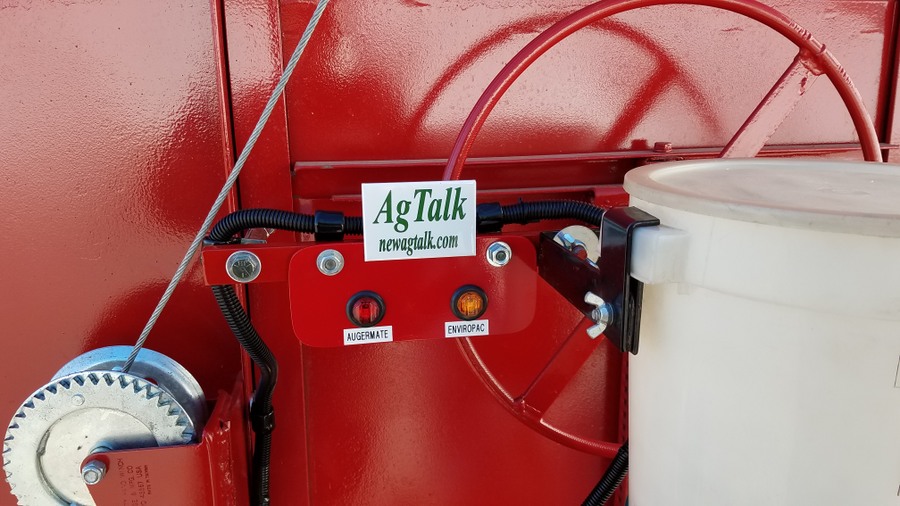
Now I got to thinking it would be nice to have indicator lights for the auger mate and the Enviropac. A couple LED clearance lamps and another fabricated plate made for a nice mounting. The auger running should be self evident but sometimes it's hard to hear the Enviropac running with the auger, planting tractor and auger mate all running. Since I'm doing one I may as well wire them both up to a indicator.
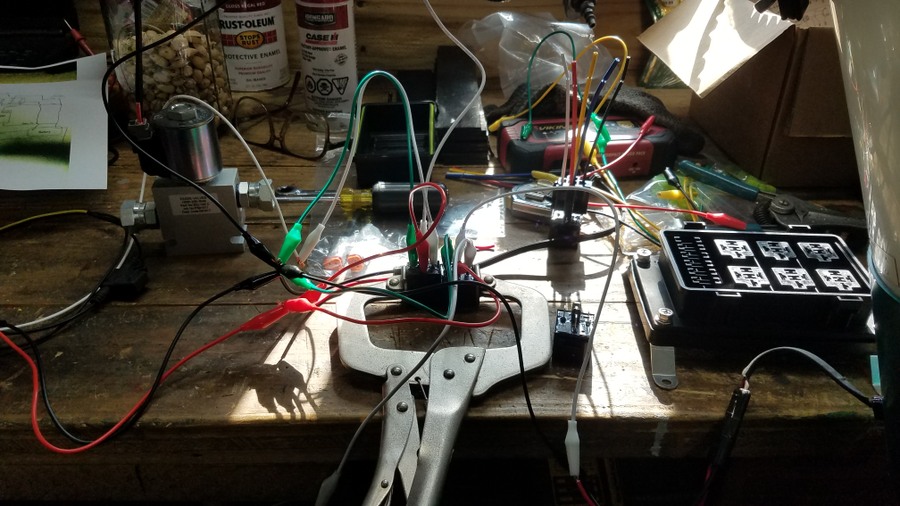
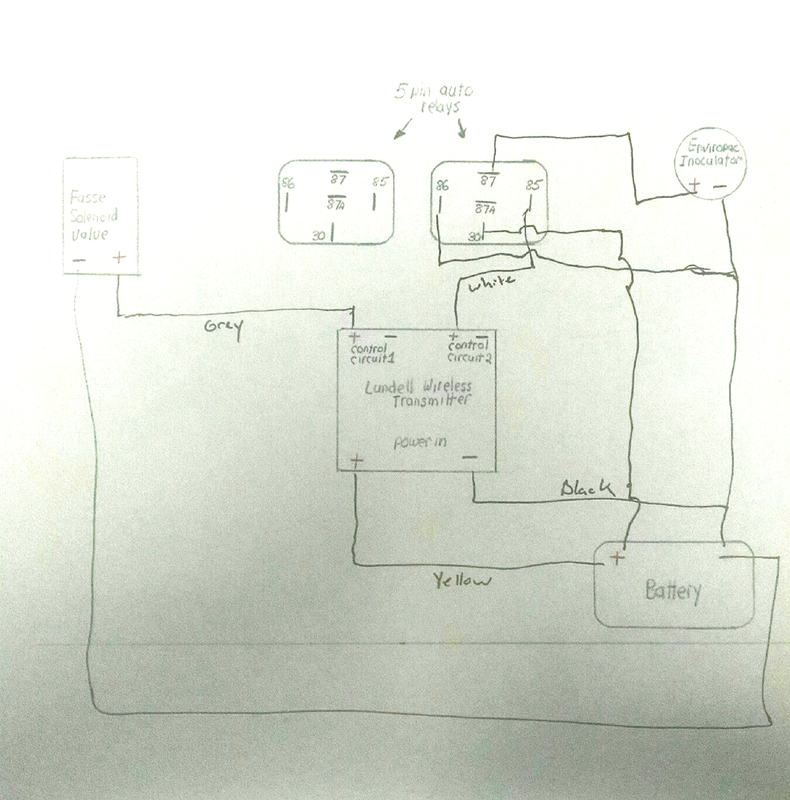
The wiring looks complicated but is really pretty straight forward, thanks to Matt & Ryan at Lundell for answering my questions and supplying connections on my crude drawing about how they would like to see it wired up using relays. They only showed using a relay for the Enviropac but I ended up wiring them both using relays to protect the remote control.
Next came the search for the unobtanium hydraulic fitting for the solenoid valve.
https://talk.newagtalk.com/forums/thread-view.asp?tid=837591
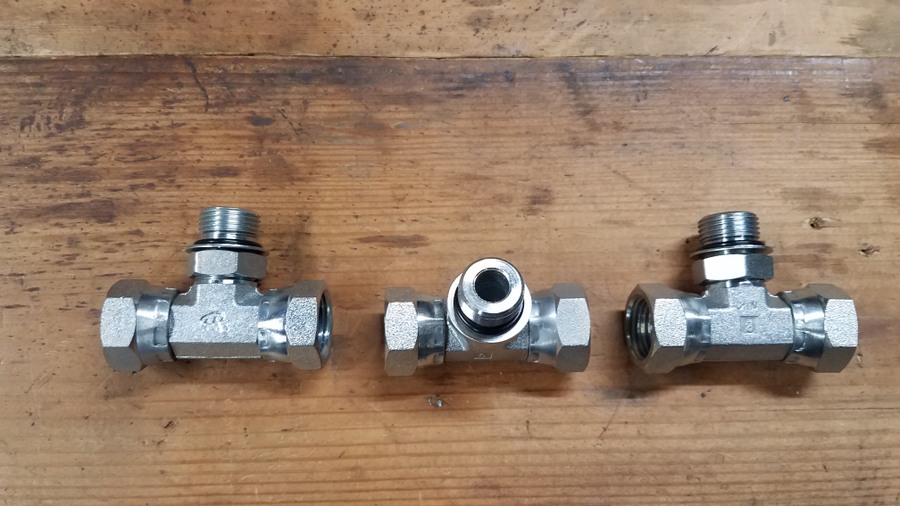
I had used 2 sets of 1/2" hydraulic hoses on the original build. One set went from the auger to a pass through plate that bolted to the wagon and the other set went from the plate to the tractor.
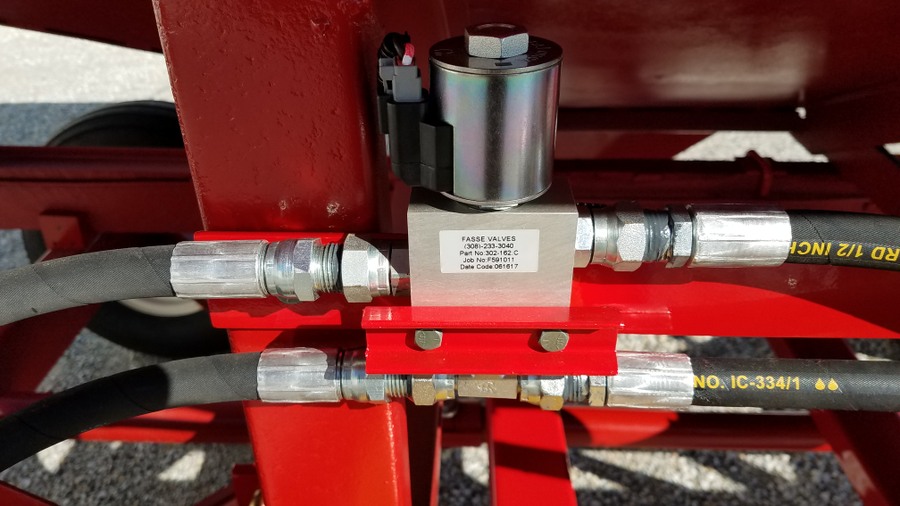
It worked out that the hoses from the auger to that plate were the perfect length to reach the position where I wanted to mount the solenoid valve. They had 1/2" pipe fittings where the fitting provided with the valve was smaller. Finally Baum Hydraulics came through and was able to deliver the rare fitting. 2 more went into inventory for spares.
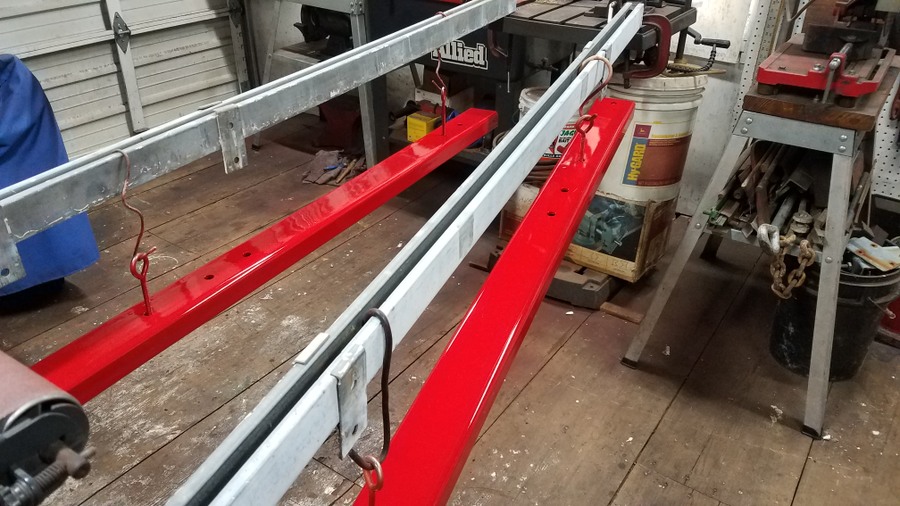
After test fitting and making all the pieces and parts it was time to paint. Once again the weather was uncooperative on getting warm days to paint outside and painting inside my small shop area makes too much mess with over spray. After the saga of the disappointing finish on the CIH red paint last year I decided to go with Rustoleum instead. Seems to provide a much nicer and smoother finish even though I still had the hot/ cold/ hot cycles of warming things inside, taking outside to spray, and then bringing back inside to dry. The color is not an exact match but it's fairly close.
Note the 2 dimples for correct orientation up and down and side to side.
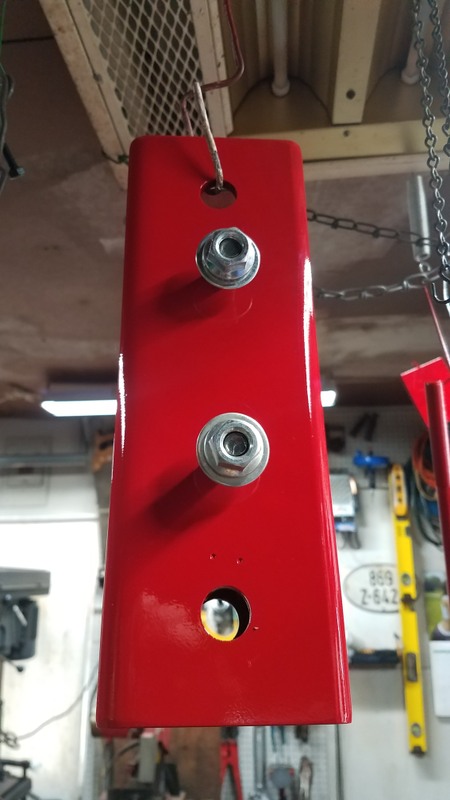

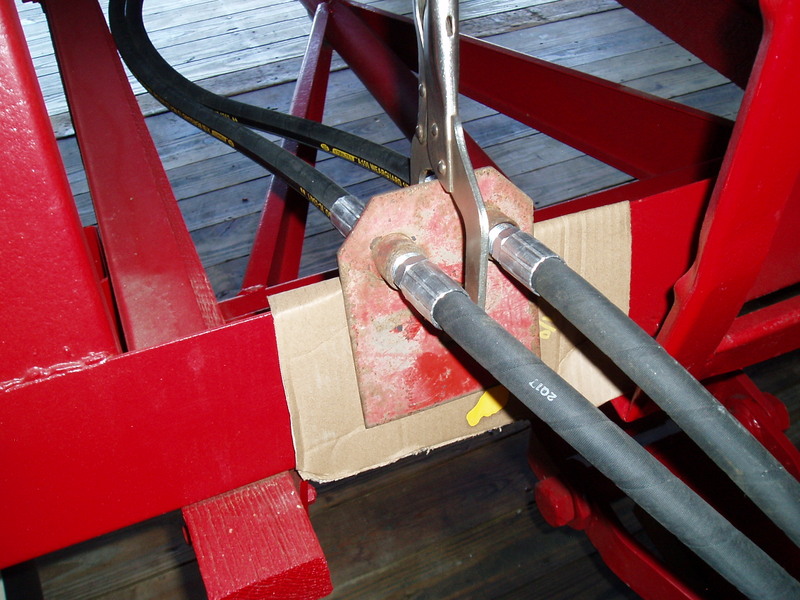
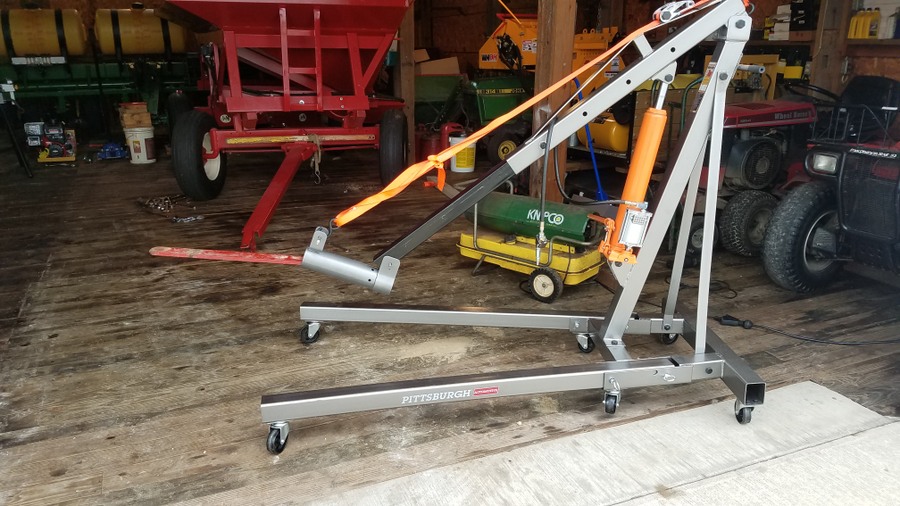
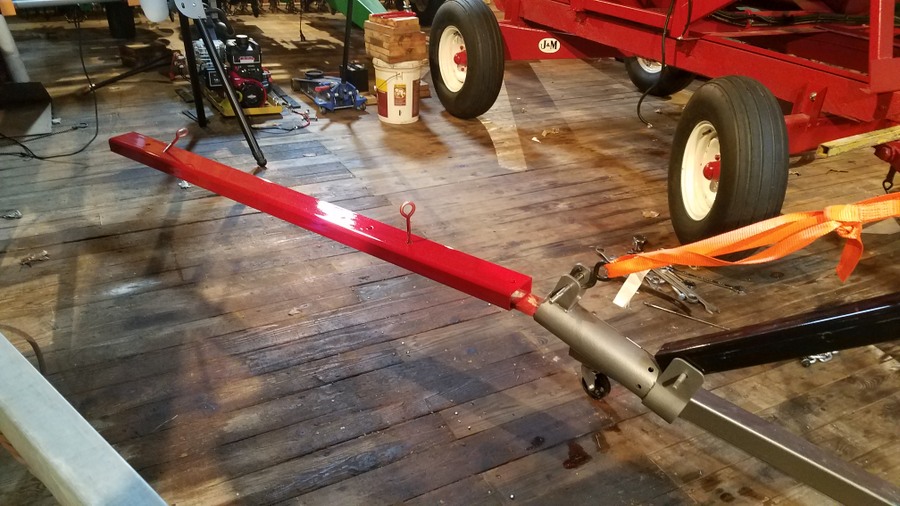
The rectangular tubes are quite heavy and the clearance is minimal between the runners and coupling pole so it took a little ingenuity to slide them in place without skinning up all the fresh paint. The spare part of the 2nd drill fill auger hoist from last year coupled with a ratchet strap and a flat bar sticking out of it made for a knuckled joint at the end of the cherry picker to lift the rectangular tubing to slide into place. When you work alone you often need to come up with creative solutions for handling awkward pieces like this.
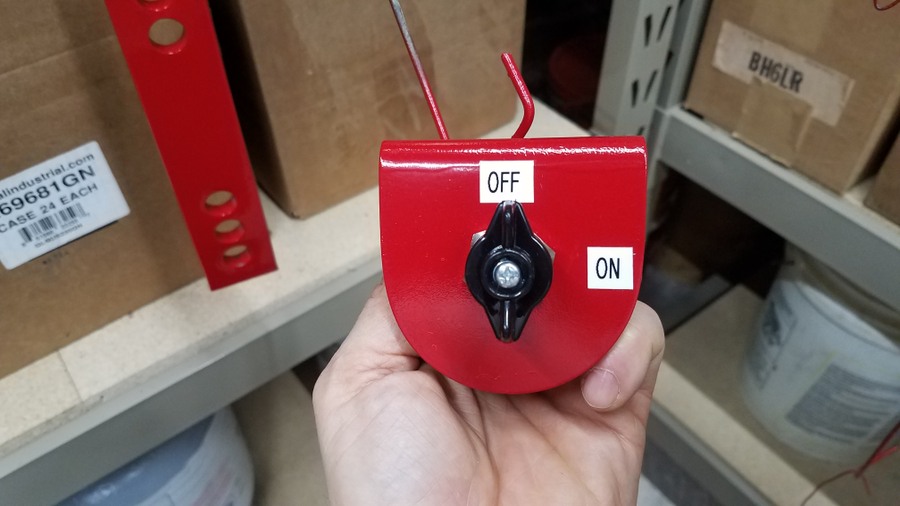
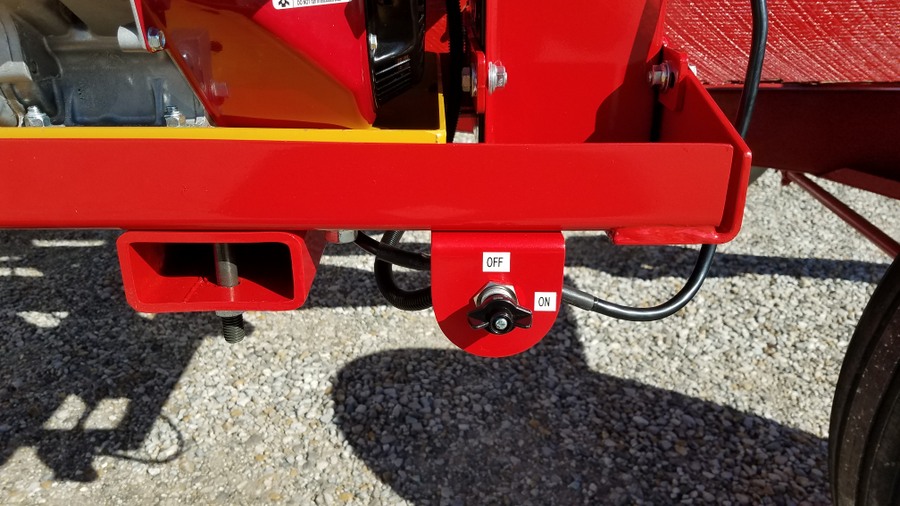
A couple labels for the disconnect switch and indicator LED's
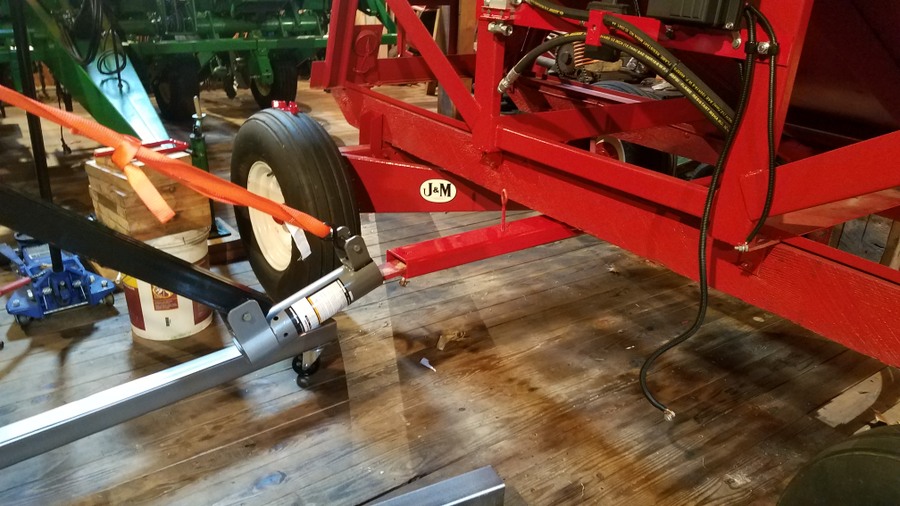
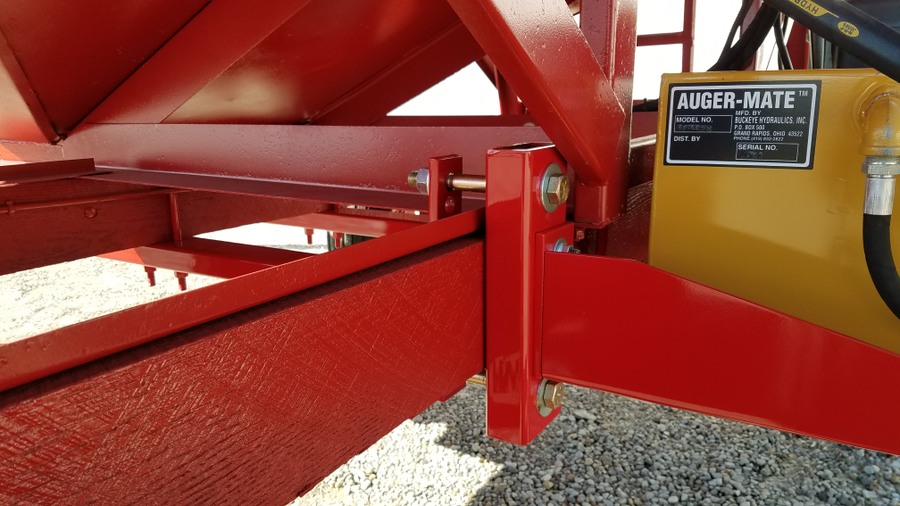
Painted tubing slid into place and secured with U bolts and plates
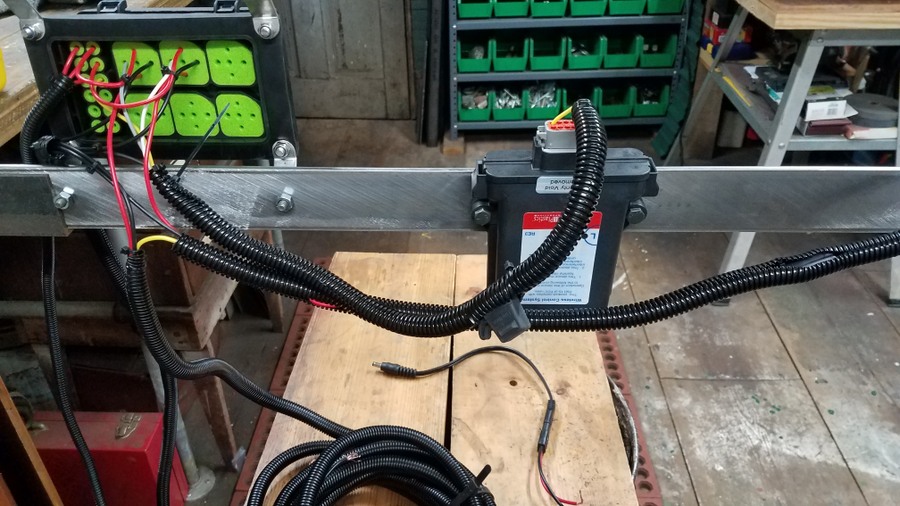
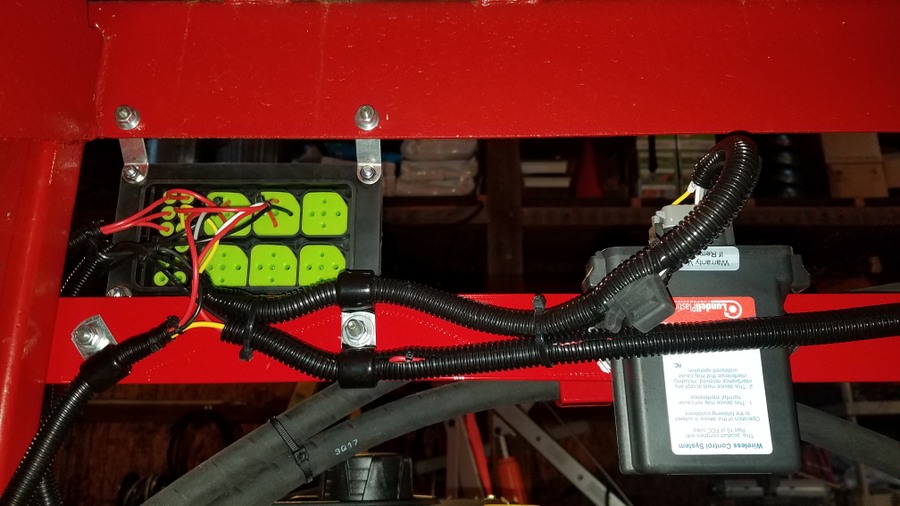
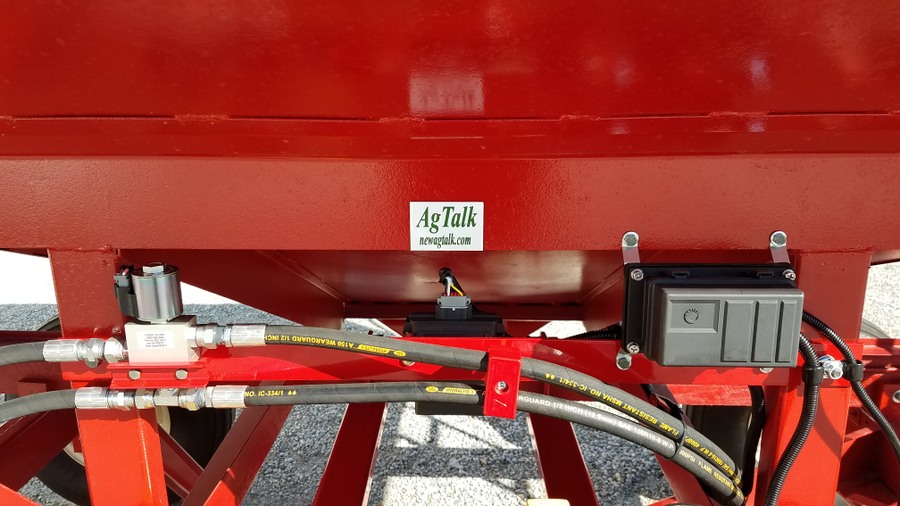
Wiring on the backside of the mounting bar that holds the relay/fuse box, remote control, and solenoid valve. Plenty of wire loom & clamps keep things protected and held in place.
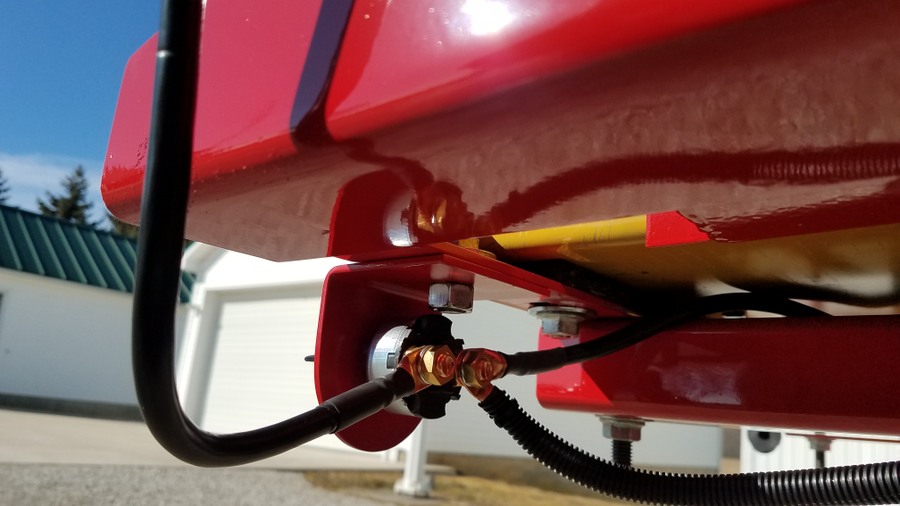
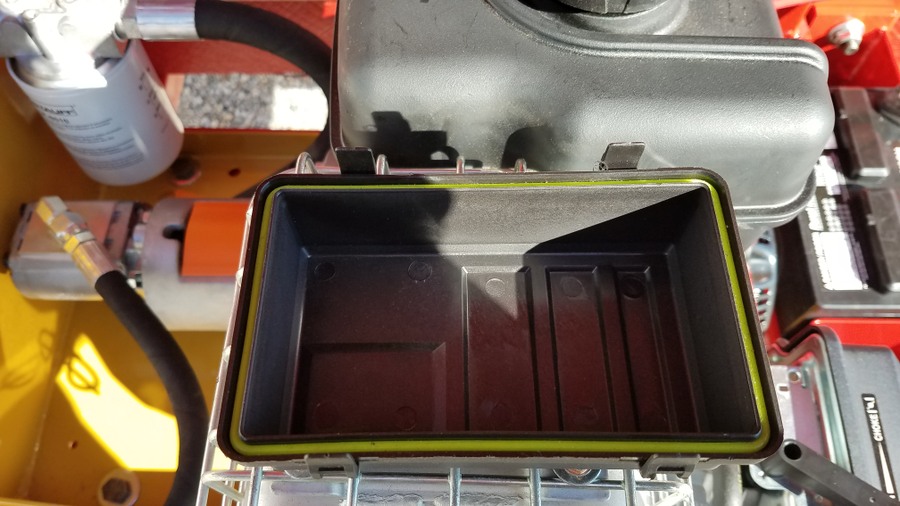
Battery box and disconnect switch were connected with battery cables I made using the hydraulic crimping tool I posted about here.
https://talk.newagtalk.com/forums/thread-view.asp?tid=680568
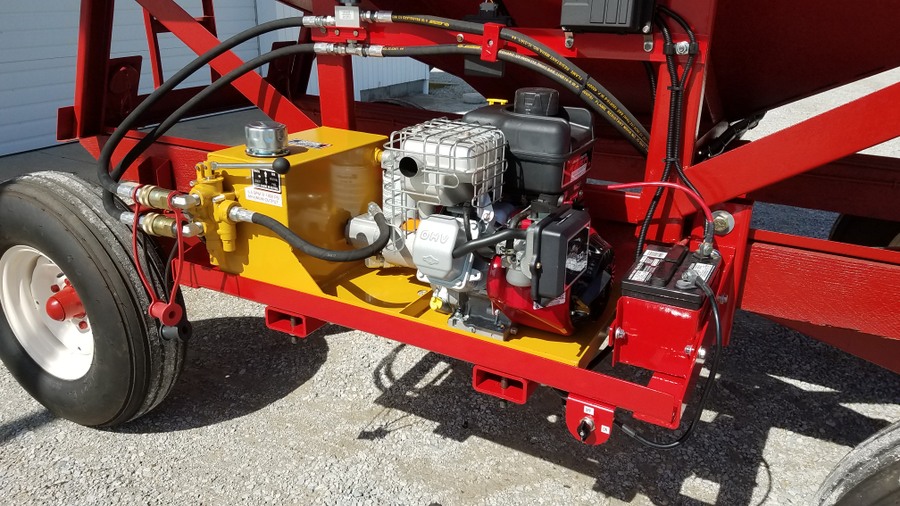
So here is everything completed. I'm happy to report everything works as planned and there were no hydraulic leaks.
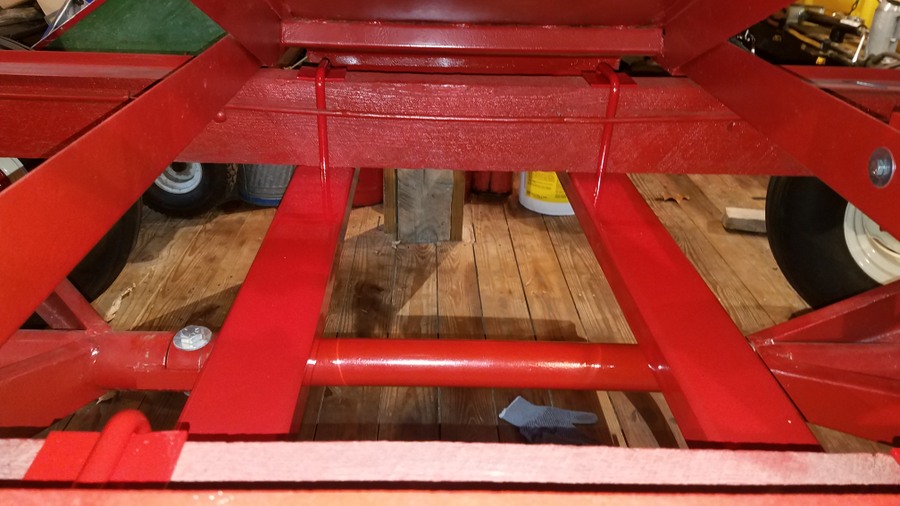
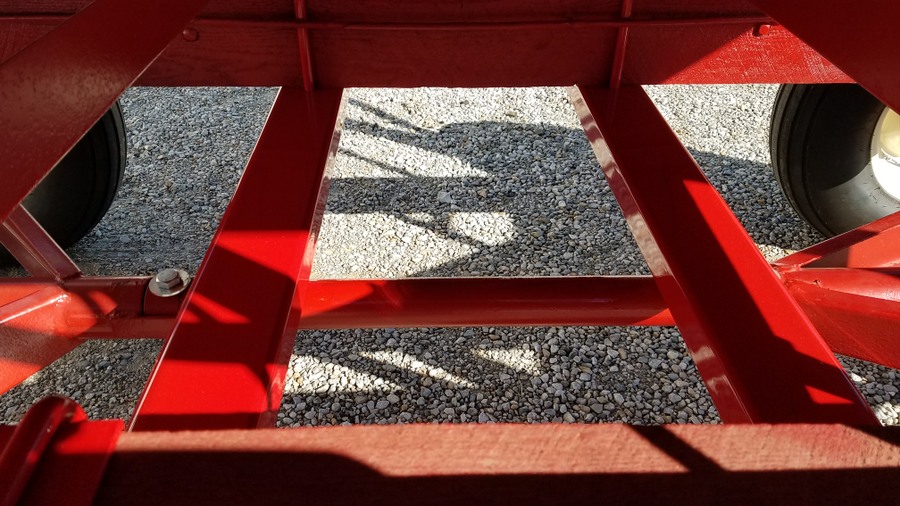
Here are the rectangular tubes under the wood runners.
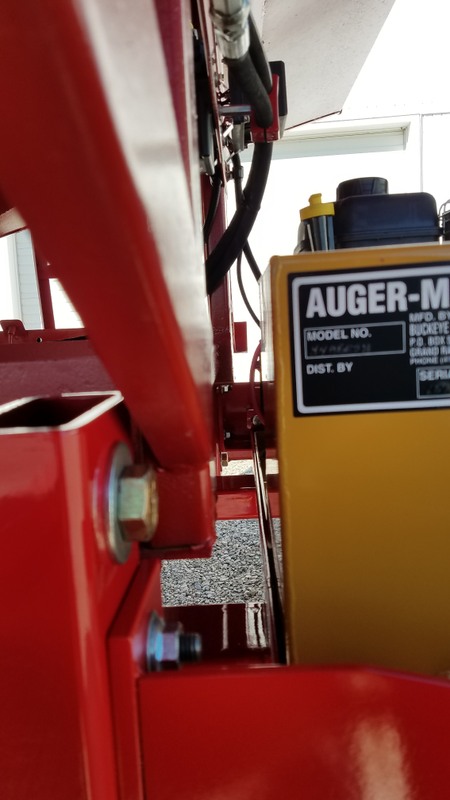
Here are the short pieces of tube that space the J&M cradle away from the side of the wood runner for engine clearance. 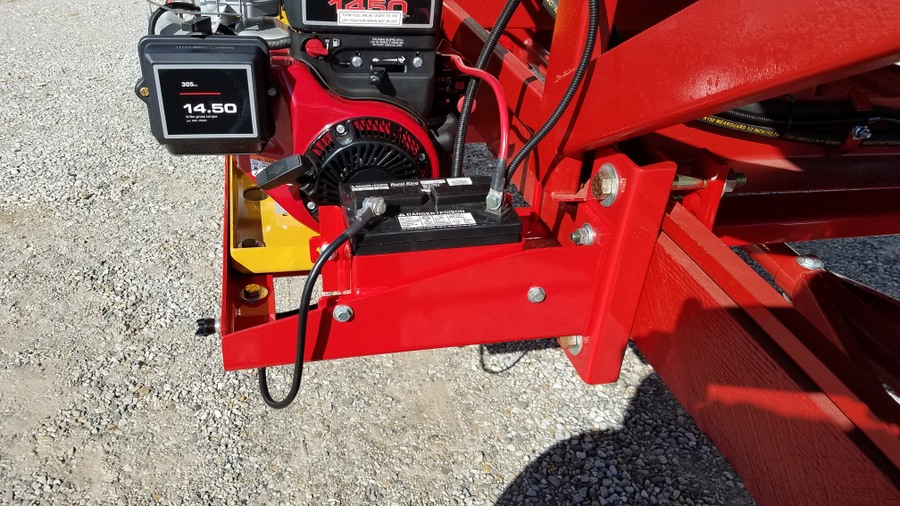
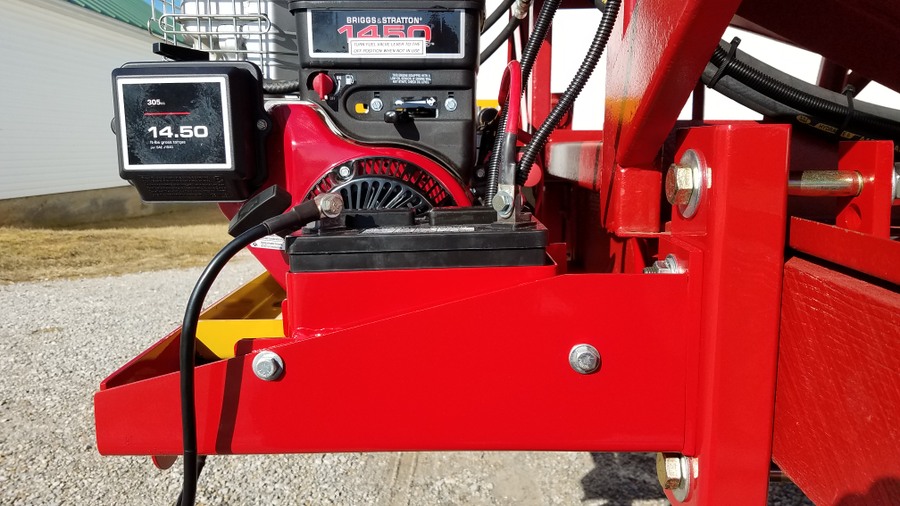
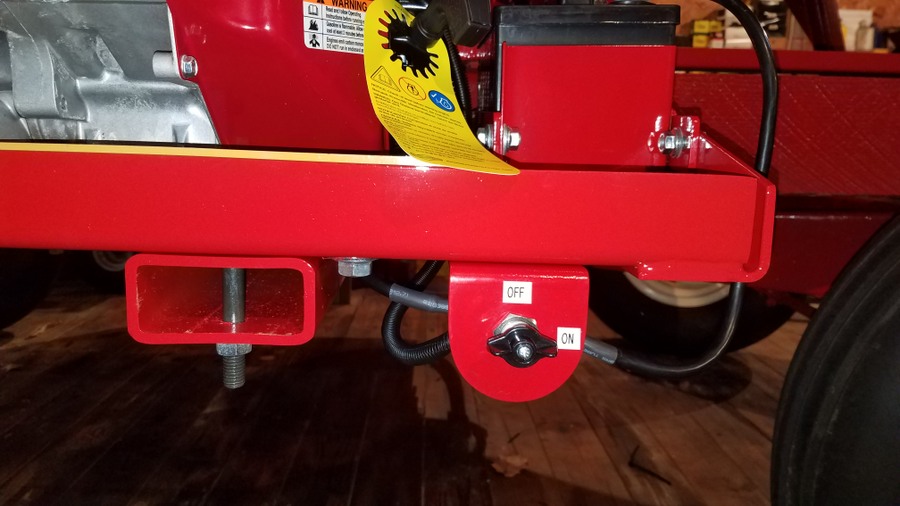
The battery and system disconnect to prevent the remote control from draining the battery or any shorts when being stored.
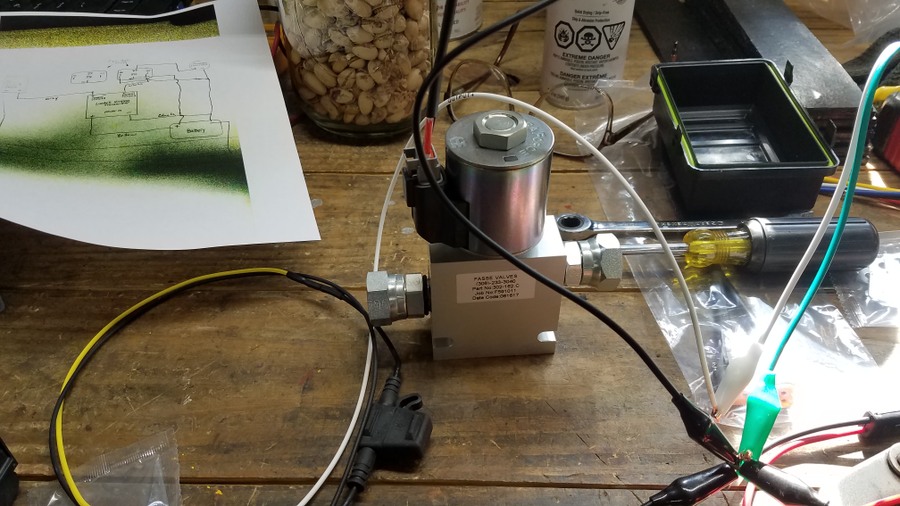
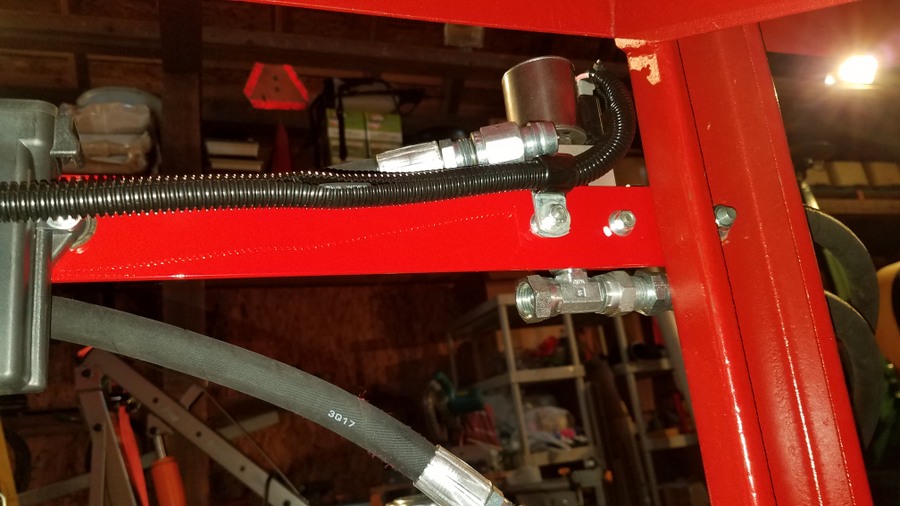
The Fasse hydraulic solenoid valve
Inside the relay/fuse box
The gasketed lid for the relay/fuse box
Fasse Valve, Lundell remote control, and relay/fuse box on the mounting bar above the augermate.
LED indicator panel

Full under runner support structure.
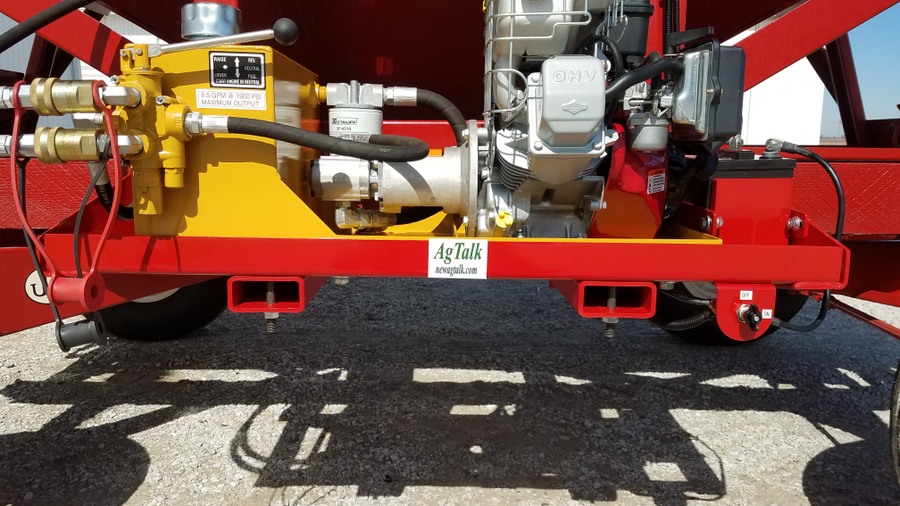
Quick couplers on the short hoses going to the Fasse valve make it simple to disconnect in case I want to run something else or pull the auger mate off without having oil all over everything.
Finished project 
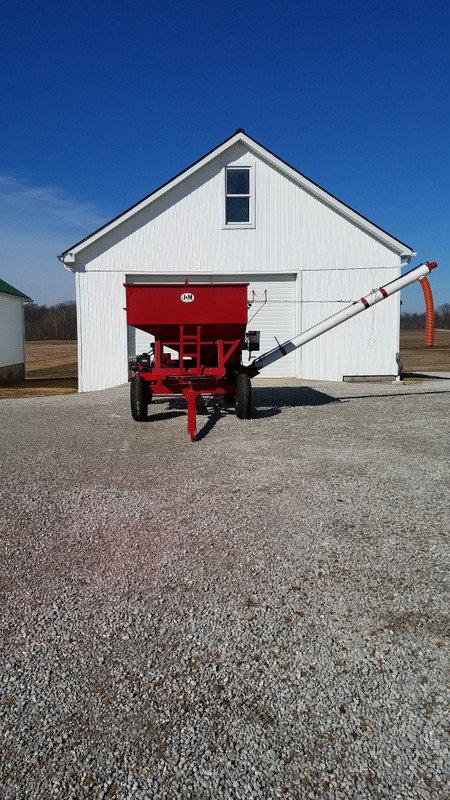

Thanks for reading along, and a big thanks to all who helped answer the questions and offered suggestions in all the links above leading up to this build. Hopefully this will help or encourage others to share their projects, or give them ideas to save time and make farming easier and more enjoyable. The bucket brigade for filling the planter is okay but as we get older it makes sense to work smarter not harder.
|  Seed Auger Wagon Phase 2 Build (data warning, long post, lots of pics)

