Here is the previous thread where I asked about the ability to control the flow rate in one direction while being unrestricted in the other direction on a single hydraulic line. http://talk.newagtalk.com/forums/thread-view.asp?tid=546528 Without knowing for sure how much flow I would need I ordered the 1/4" and 3/8" units from Surplus Center. 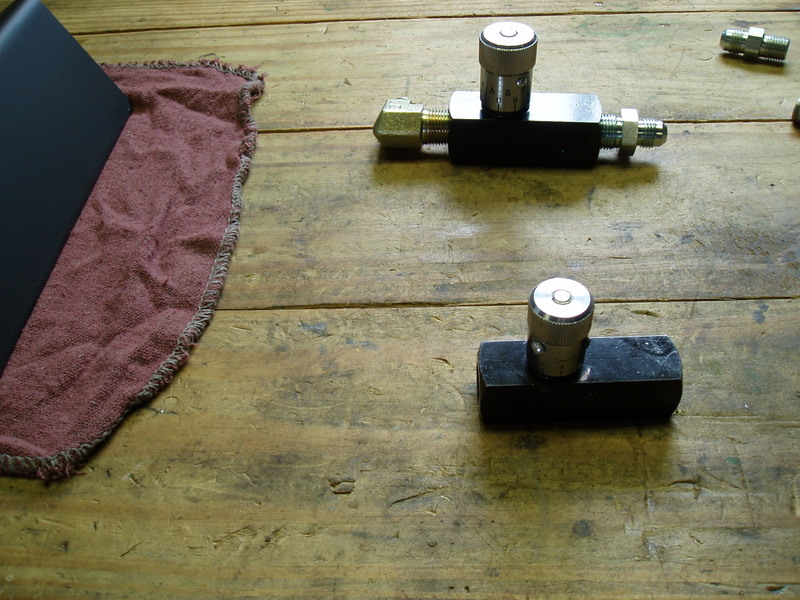
I decided I would like to make a bracket that mounted out of the way on the planter using some existing hole. When I undertake these sorts of projects I always like to use existing holes and brackets instead of adding something that looks sort of cobbled on (just my personal preference). It makes the projects a little more challenging to create something that looks good and fits existing holes and brackets. I did not like the idea of the valve hanging directly off the tractor remote or hose tip as I don't like to see leverage pulling down on pipe threads. Anyhow the idea was to make a bracket that would accept either setup in the event I needed to go to the larger one or if I ever needed a spare. I got a couple pieces of hose made with flared fittings on each end. Then I got the 90° and straight pipe to flare adapter fittings I needed for each valve. Should I need to change the valve out the same hoses and mounting bracket can be used. The planter tongue has a turned down lip that already had a 1/2" hole in it which looked like a good place to start for a bracket. 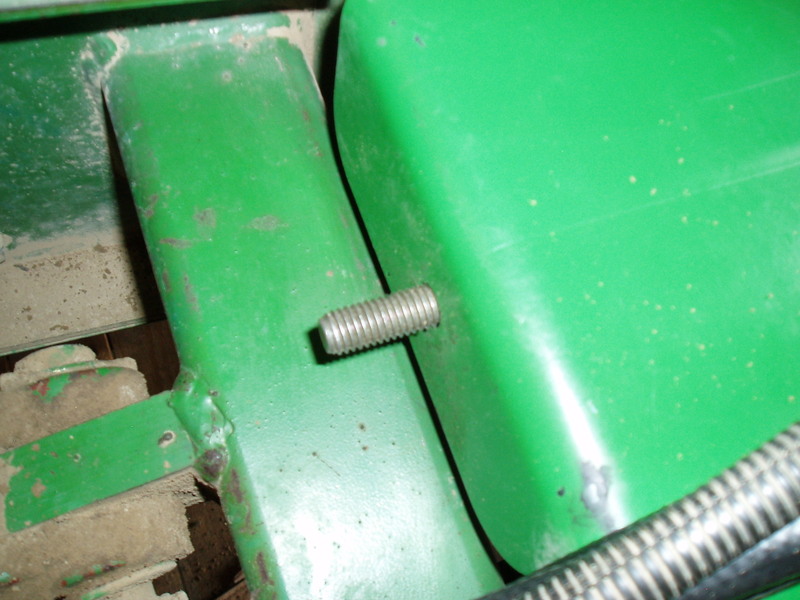
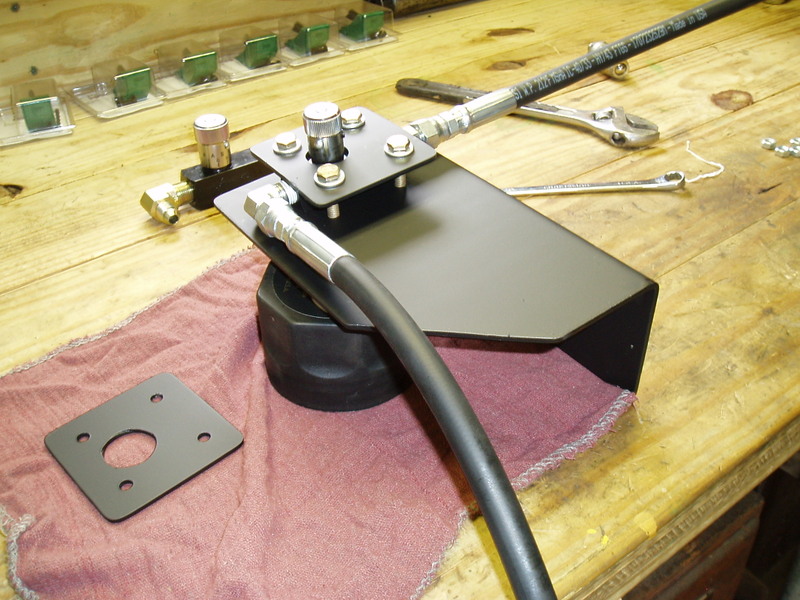
A nice piece of large angle that came off a J&M HT8 top wood beam support I shortened up to store my old 915 head on looked like a nice fit. Sets in place nicely with a single bolt and sits down on the cross tube the cylinder mount is welded to but still has a wide flange to mount the valve on. I notched the one corner to not stick out past the tube that the bottom cylinder support is welded to. 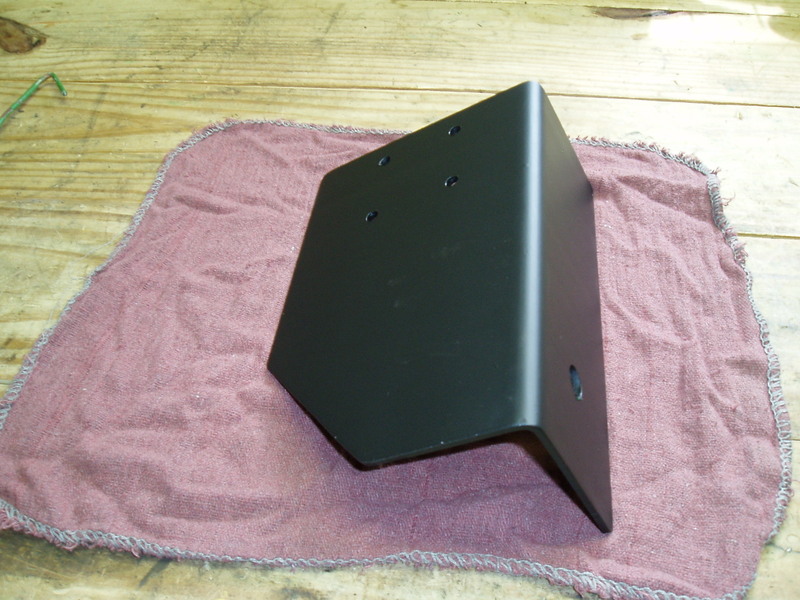
Next I needed to come up with a way to hold the valve down. At first, I thought about a strap across each end but with the offset knob one side does not have much room for a strap across it. I did not want to tack weld it so I made a plate and drilled the hole offset for the control knob to come through. Then drilled four 1/4" holes in the corners that would clear this valve or the larger one if I needed to switch. Then I made the same style plate for the larger valve so that they would be interchangeable on the same mounting bracket. 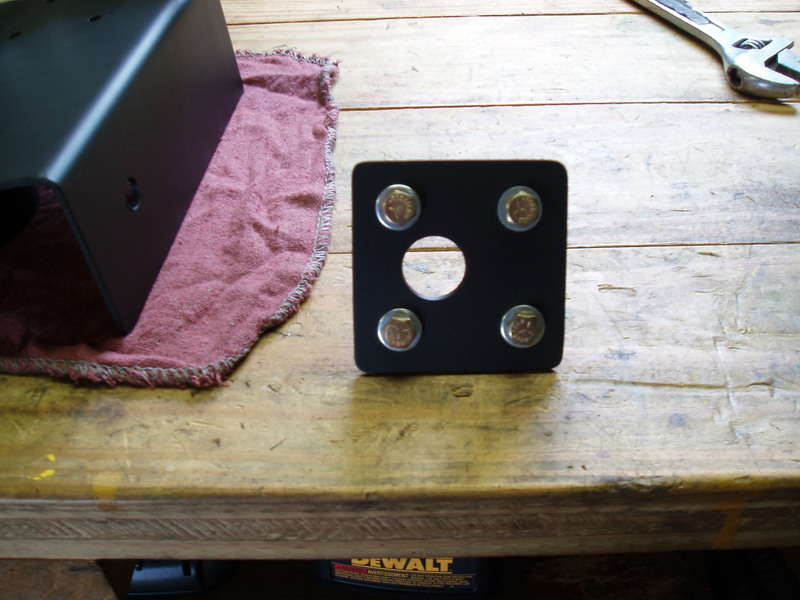
Here is the valve sandwiched between the bracket and the old down plate. I thought about using some rubber strips in here but decided as tightly as it was being held it will probably be okay ? 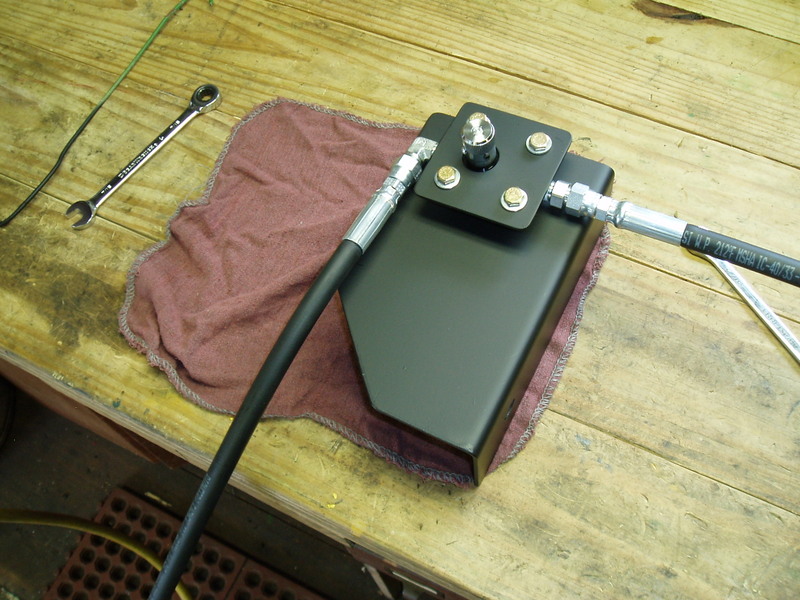
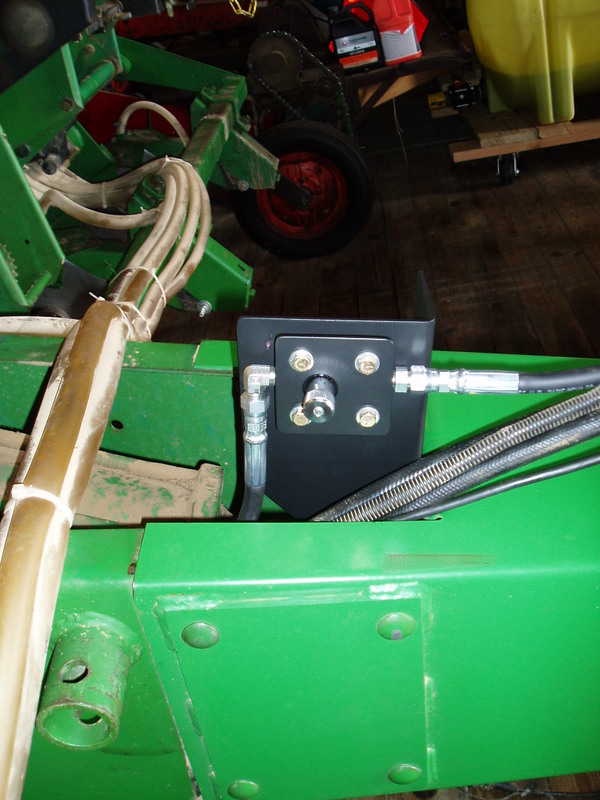
Here is the 1/4" valve installed and the 3/8" one with fittings ready to be substituted if need be or kept as a backup if not. 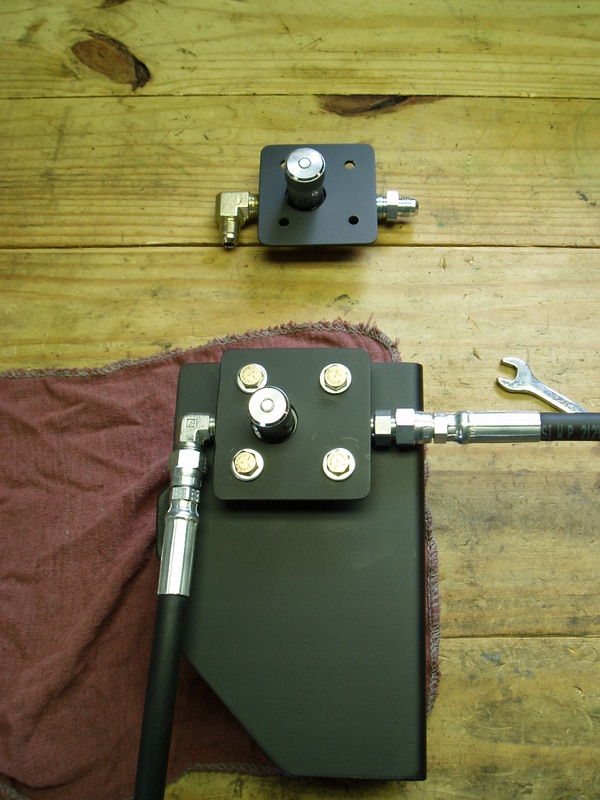
Here is the unit installed on the planter. It may be a little higher than needed but I wanted to be able to access the small locking allen screw to lock the knob in place no matter where it winds up being turned. I imagine once I get it dialed in I won't be changing it much in the future. 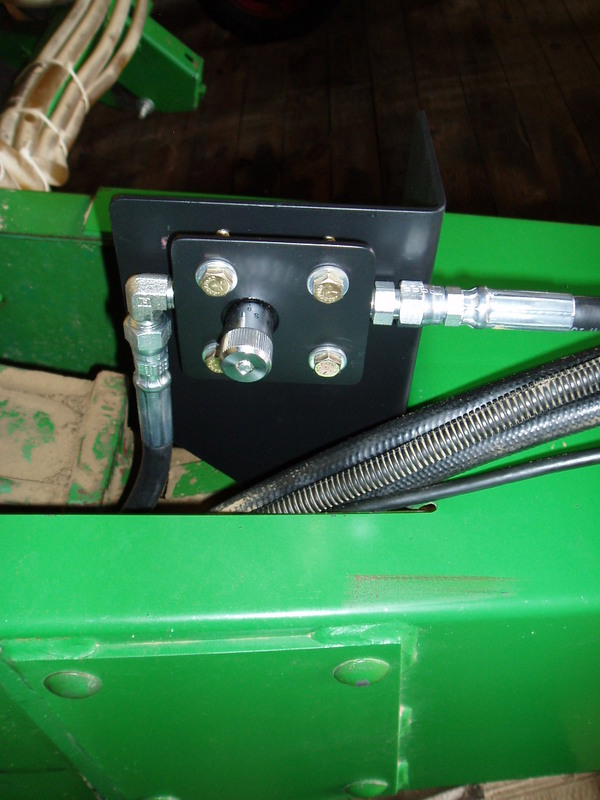
Have not gotten a chance to test it out just yet tractor is at one place and planter is at another. With all the never ending rain recently it's shaping up to be a nasty repeat of last spring of never ending events that drowns everything. Hopefully this will address the issue of the markers coming up too quickly and banging the marker bump stop and marker arm around so much. |  7200 marker control followup (pics)

