Something to consider for running 750 drill on open center IH hydraulic system This came from someone on Ag Talk originally so hope they will chime in and talk more about this. https://www.youtube.com/watch?v=vjkDxacS5Ss Edit: Found the thread where it was discussed by K-Tech http://talk.newagtalk.com/forums/thread-view.asp?tid=546445 I run on a JD closed center system. So I lower the drill and then lock the lever in constant down pressure with a lever lock clip this keeps constant hydraulic pressure on the openers over field variations and contours. The gauge is normally mounted on the valve on the drill but I found it was too difficult to see /monitor what the pressure was. I made a remote gauge mount to put it up right outside the back window. (Did not want it inside in case there would ever be a leak. I did not want high pressure oil spraying me and inside of cab) This way I can easily see it in lower corner of my rear view mirror to make sure I have pressure on the openers. The down pressure is still adjustable back on the valve on the drill though. 


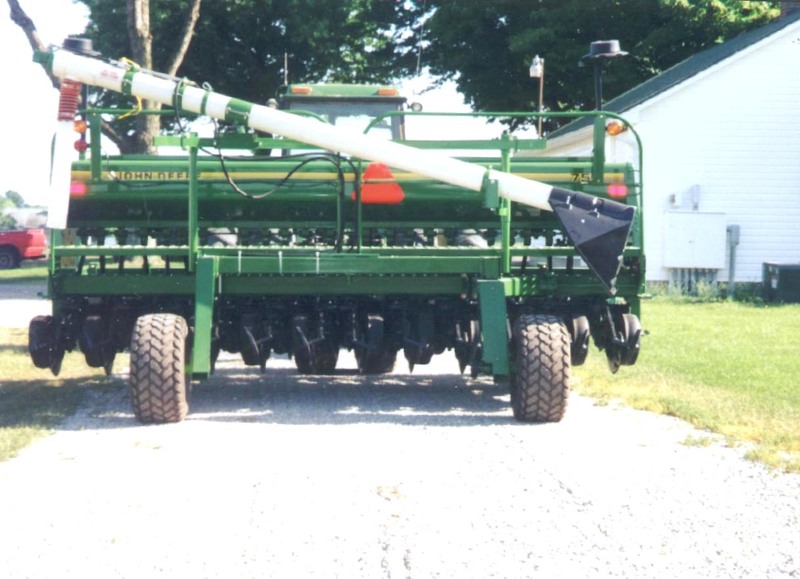
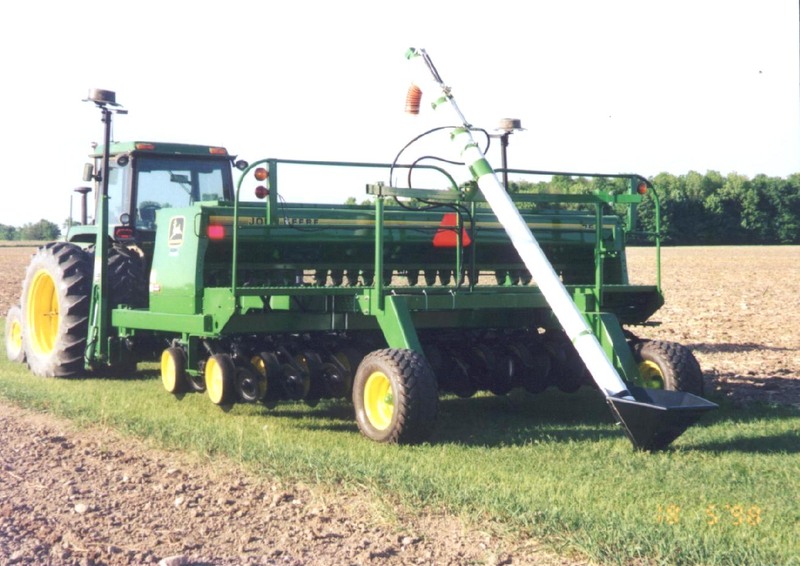
On the remotes I also only have 2 remotes but utilize a push pull valve to run 3 hydraulic functions. 1 outlet controls lifting drill and putting pressure on openers via the lever lock. The other outlet runs to a push pull valve. In the down position that runs the independent markers on the drill. When filling I pull the selector up and hold the lever in position in the tractor to run the hydraulic motor that powers the drill fill auger. Works great since you never need the markers and auger at the same time and avoids the need for coupling and uncoupling hydraulic connections in dirty conditions or needing another power unit in the field to power the drill fill auger with bulk seed. 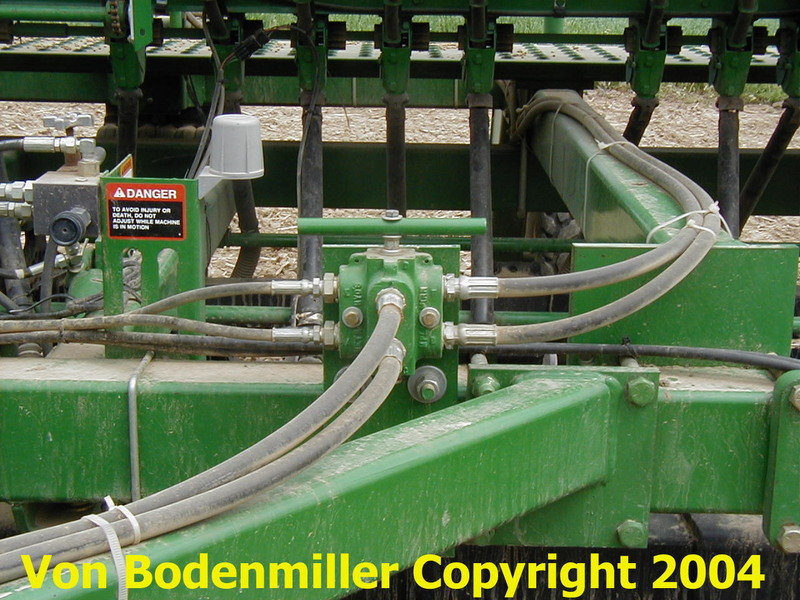
|  750 Drill experiment.....


