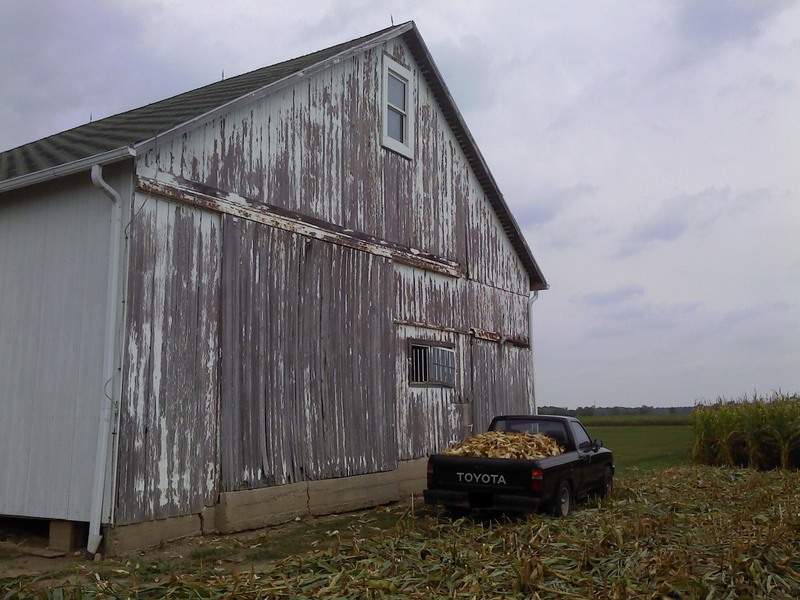
See lots of posts on here about new buildings being built and thought I would share some pictures of what I am doing to try and preserve some older buildings backed by 5 generations of heritage and history dating back to 1866. Images are being hosted at Image Event so they may take a little longer to load if on a slow connection. This particular barn was built by Great Grandpa in around 1913 and was originally designed as a hog pen and storage area. Individual pens on the east side with storage above for straw. A main driveway in the middle and a huge corn crib on the west side. He had a hit and miss engine that drove a well pump and filled an overhead water tank outside that gave pressurized water to the farm. It also ran a jack shaft across the top of the driveway via belt that ran a sheller & grinder that sat at the end of the crib. Shovel corn out of the crib into the sheller then grind feed and then carry it over to the hogs. The hogs had access to a cemented area outside but were still protected as the over jet area was open to the east. It was also elevated so it made loading finished hogs onto a old straight truck much easier. The cement was hand poured but had been ran over with a dimple roller when it was almost set up giving some traction. The livestock left back in the mid 60's and the driveway has always only been wide enough to park things 1 wide it was not wide enough to park things side by side which wasted lots of space. The crib side was open and over the years ground hogs had gotten under the thin cement floor and undermined it causing it to break and heave up. The following is a much condensed version of a 3 phase project over 3 years to try and modernize, improve and better utilize the space. Is it as nice as a new pole barn ? no but it will work with a lot of what I have and it preserves a bit of history that my family thought was very important and struggled and sacrificed to build and maintain. My attempt was not to gut the building completely as I did not want to drastically weaken the structure based upon the strong winds we always get but to make it more handy and more usable. The unique structure of the roof supports also limited me on what I felt I could safely remove and still keep everything from sagging. I did not like the idea of cabling and it was simply cost prohibitive to install steel girders. To get 100 % usable space would have required so much depth in the beams that I would have lost height. So here we go. This is a picture of the water tower being pulled down in 1950 the barn is on the far right. 
The slatted crib on the west side had been covered with steel following the 78 blizzard where everything in the building had been covered with about a foot of snow. Phase 1 Fall 2012 will entail pouring concrete foundation around 3 sides of building. Jacking everything up to level and square and sheeting the west and south sides as well as house wrap and installing new metal siding Cut all this corn by hand and tossed the ears on the truck. Gave a whole new understanding and respect to the kind of work it was harvesting corn by hand. 
South doors and all windows will be removed. Pouring footers on the east side this area has always been an issue as the 2 barns butt together at this corner and it has always been prone to leaking. Extra support was poured here to install a permanent post at the corner of the bank barn. 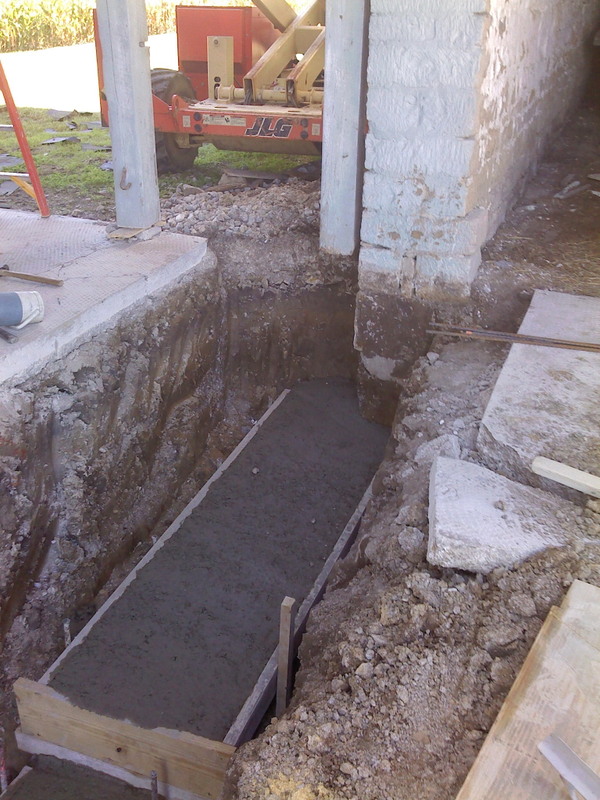
More footer work on the east side 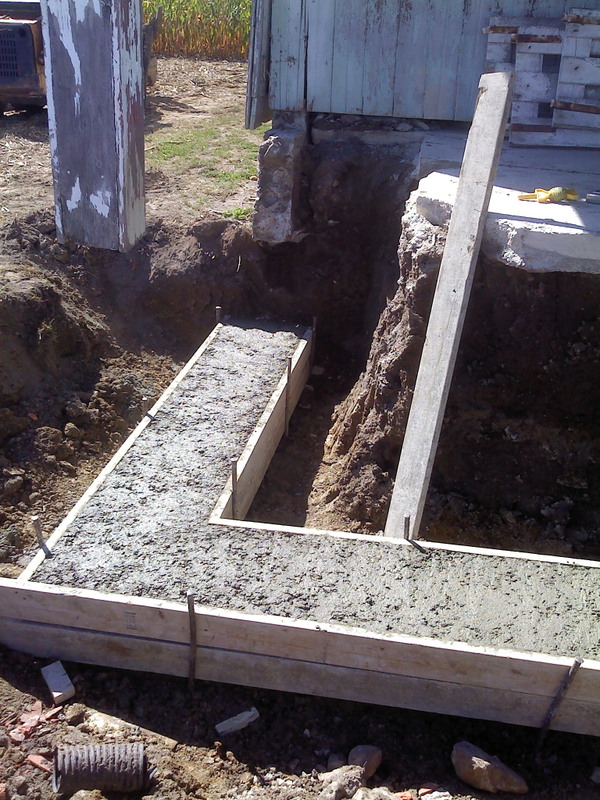
This is the side where the over jet protected and the hogs could come out side from their individual pens. 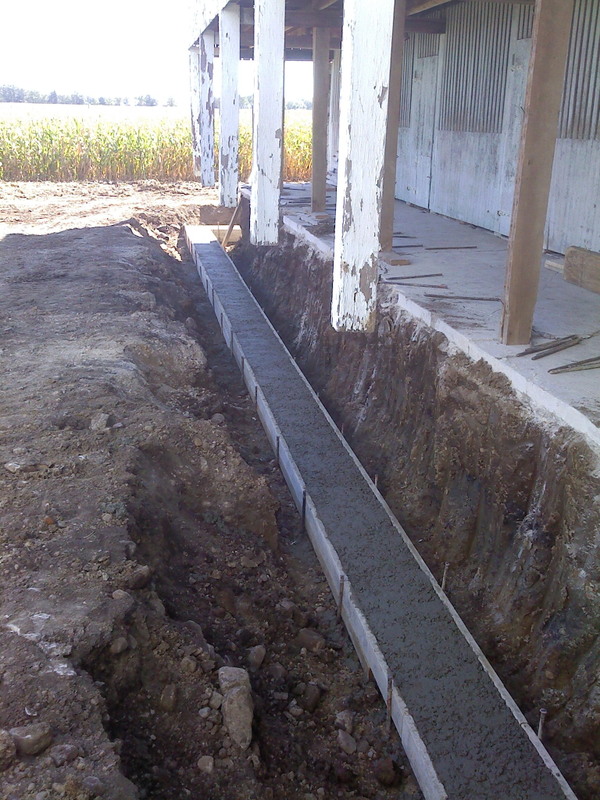
Aluminum concrete forms set in place on the east side. 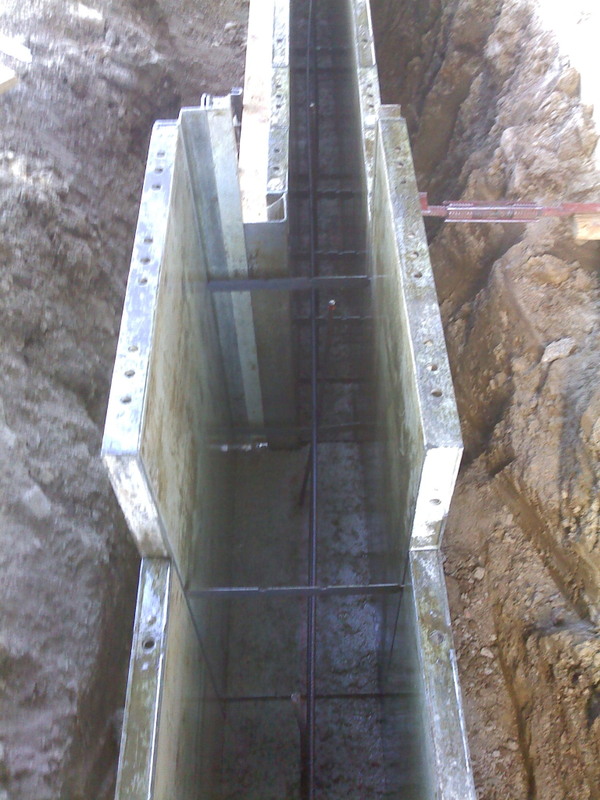
Finished wall in critical area on east side. 
Digging for footer on the west side all the piers that were in place under the crib had to be broken off with a hydraulic breaker on their skidloader. Felt pretty good about the electrical ground rod I put in. They could not pull it even with their big skidloader on tracks it just stood on it's nose. I pounded that in with a sledgehammer and it's about 9 ft deep. 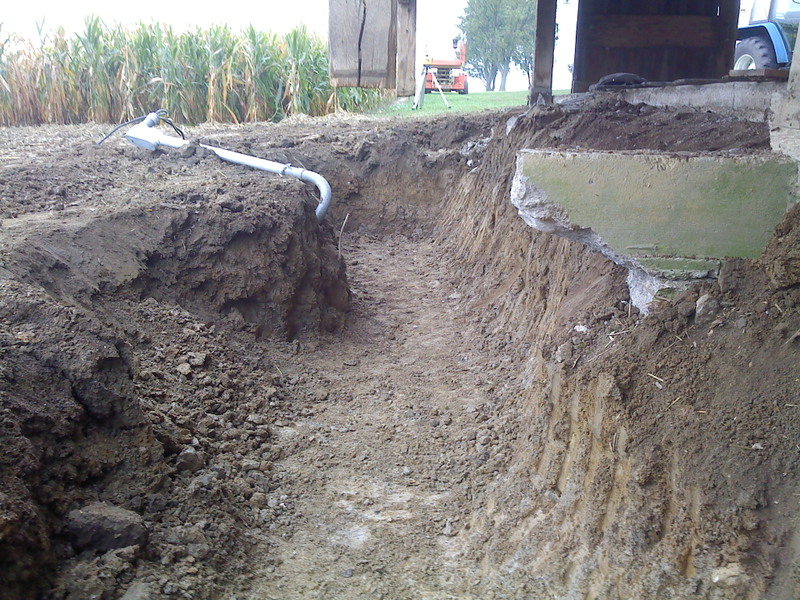
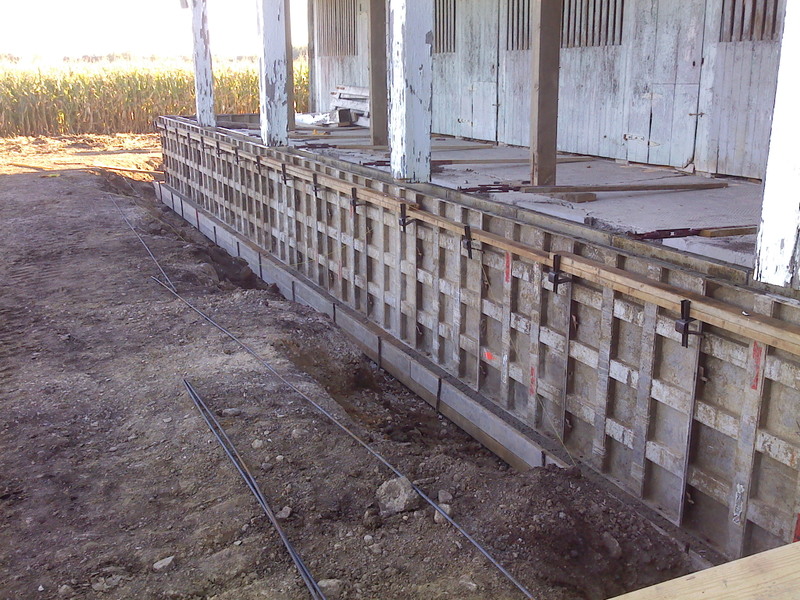
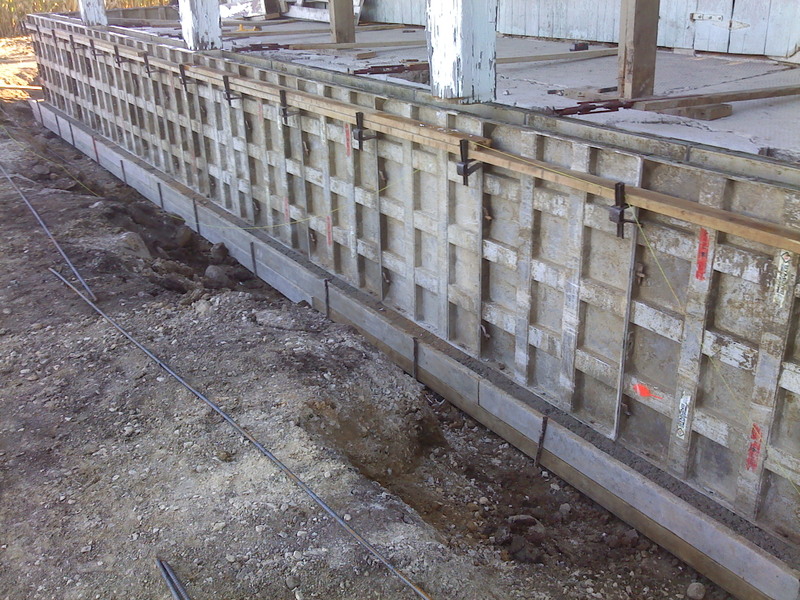
Concrete forms on the west side. 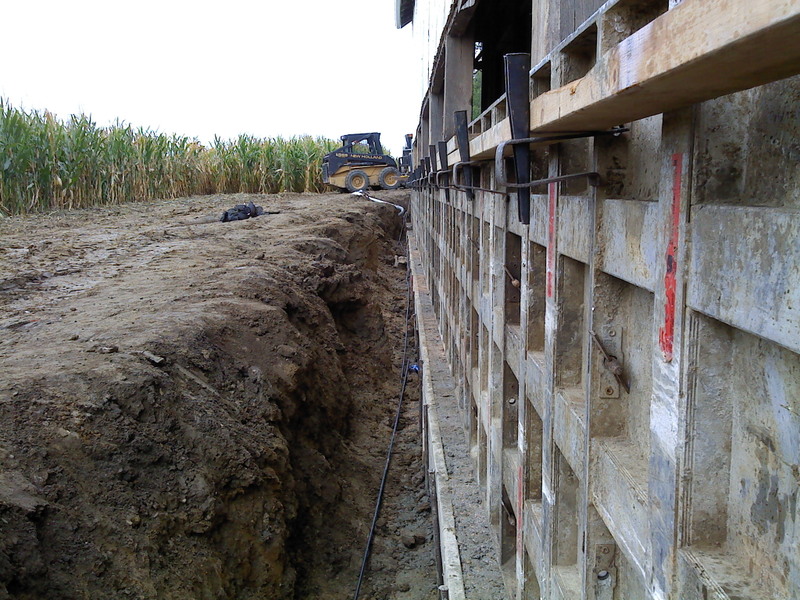
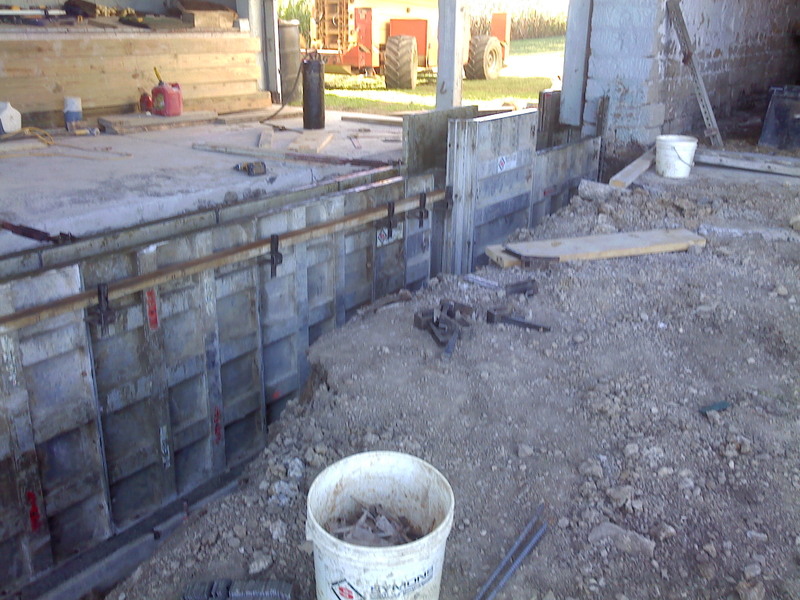
Adjustable form ties in the old crib area to keep the forms straight and in place. 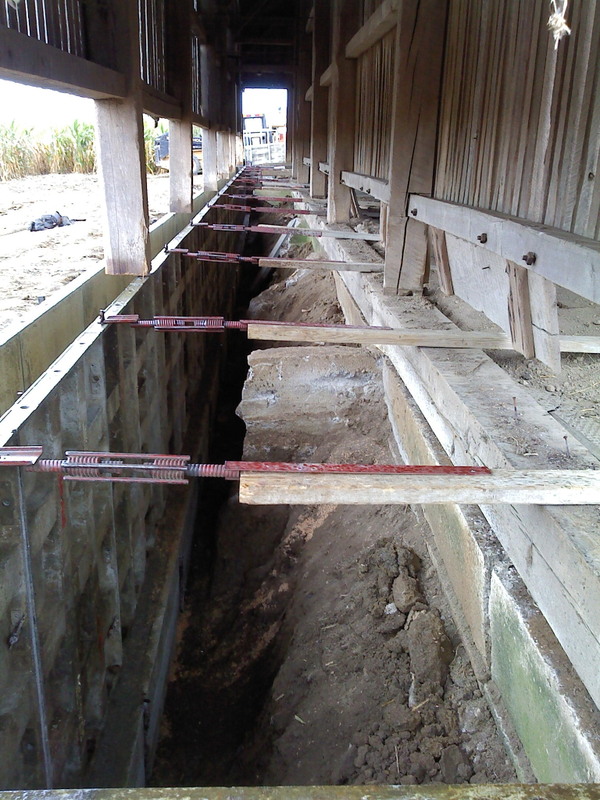
Here you can see where the old cement had broken up and was all undermined by groundhogs. 
Southwest corner of the building was the lowest and had to be jacked up about 6 inches. 
West wall has just been poured 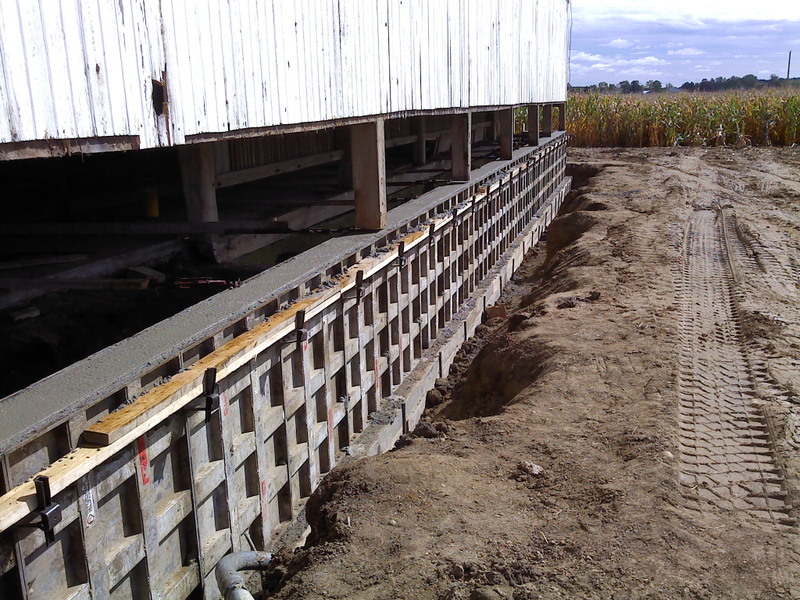
South wall has been poured 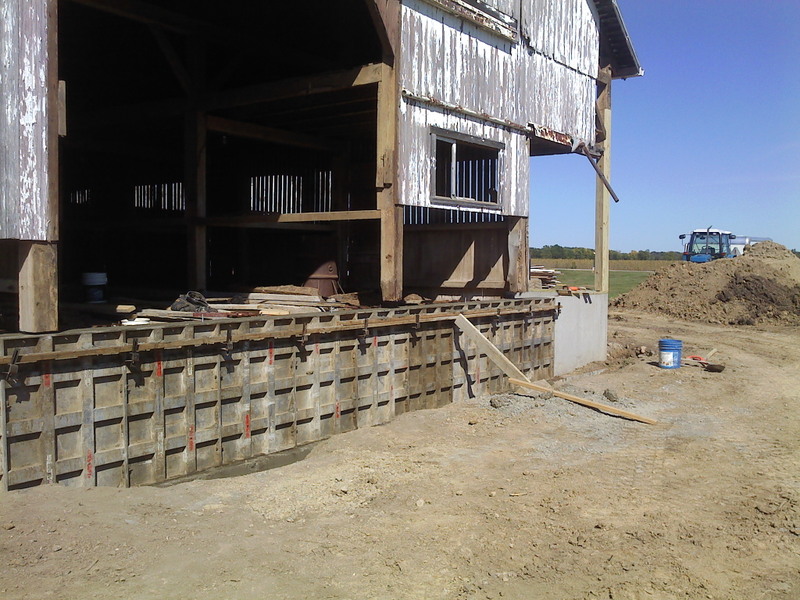
Forms have been stripped off east wall. 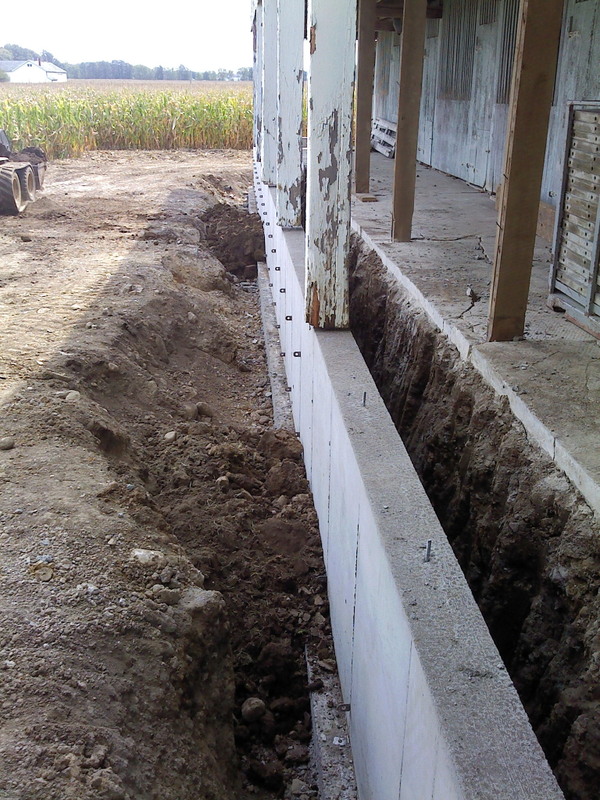
Forms have been stripped off west wall and treated plate put in place. 
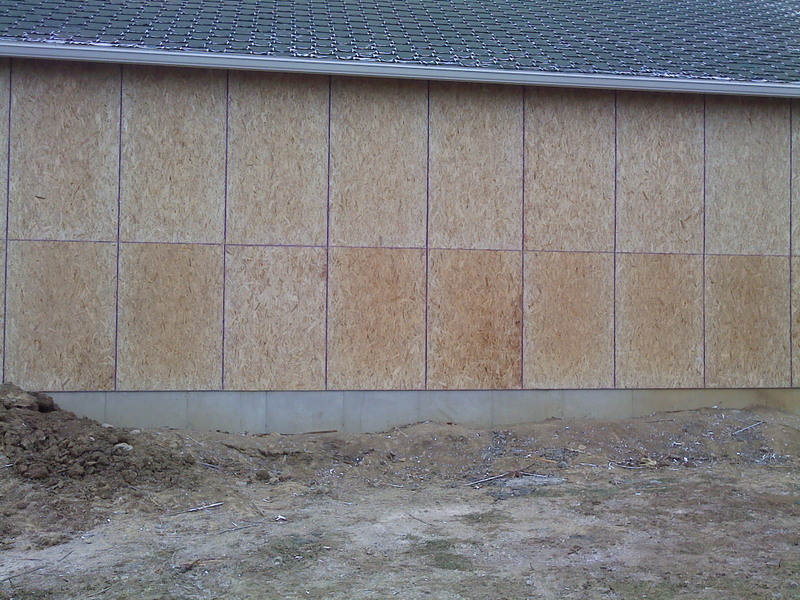
West wall OSB and house wrap are on 
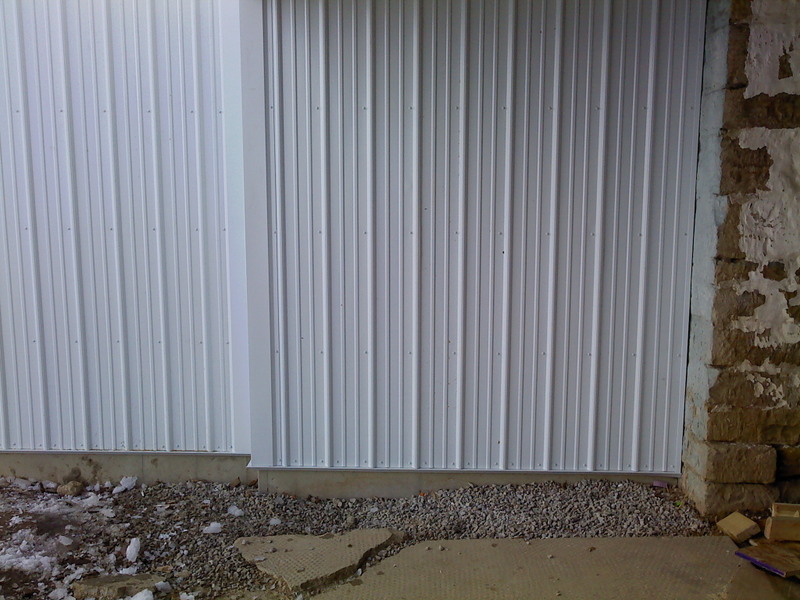
South west corner steel siding on. 
South end no bulging cracked foundation no doors no windows. 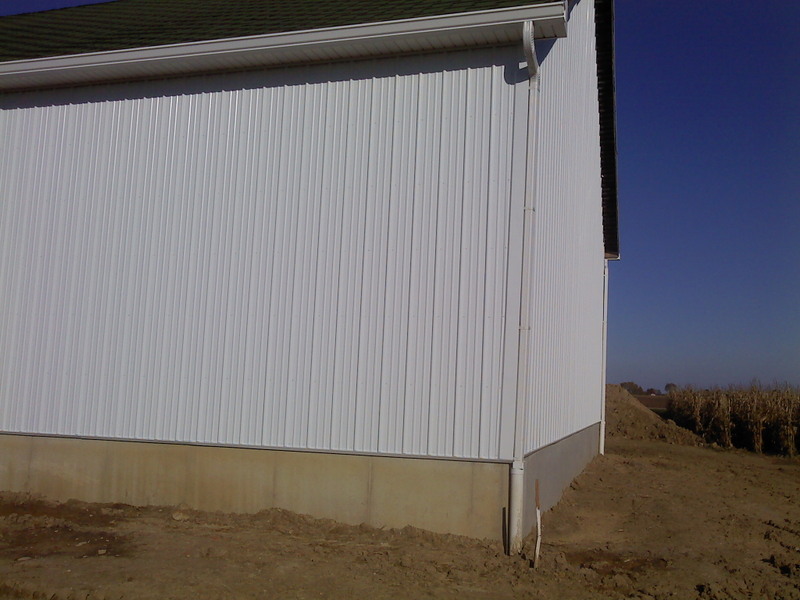
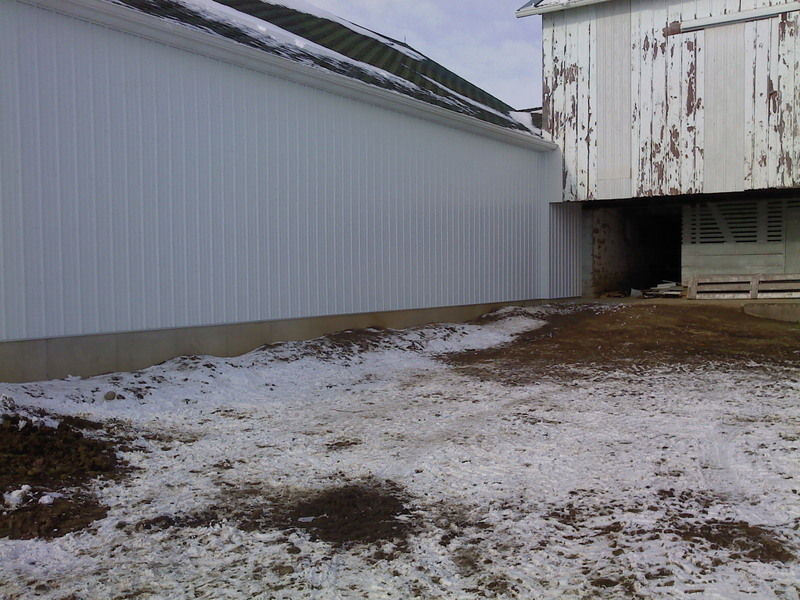
West side completed 
End of Phase 1. Many will wonder why draw things out? I like to pay as I go on improvements and don't wish to borrow. This was a reasonable place to stop. Never know what the next year will bring so it's easier to go a little at a time. You do need to think ahead and plan how things will all come together in the end though. Phase 2 begins Fall of 2013. Phase 2 will be new concrete in main driveway, and in over jet area. Cement approach and foundation on North end. Sheeting & OSB on North end and closing in of East side. New overhead doors and walk through door. Corncrib is torn out and old concrete broken up and removed. 
Corncrib removed as well as remnants of concrete piers under crib. Posts on east side of pictures have all been jacked up and supported with pressure treated wood. 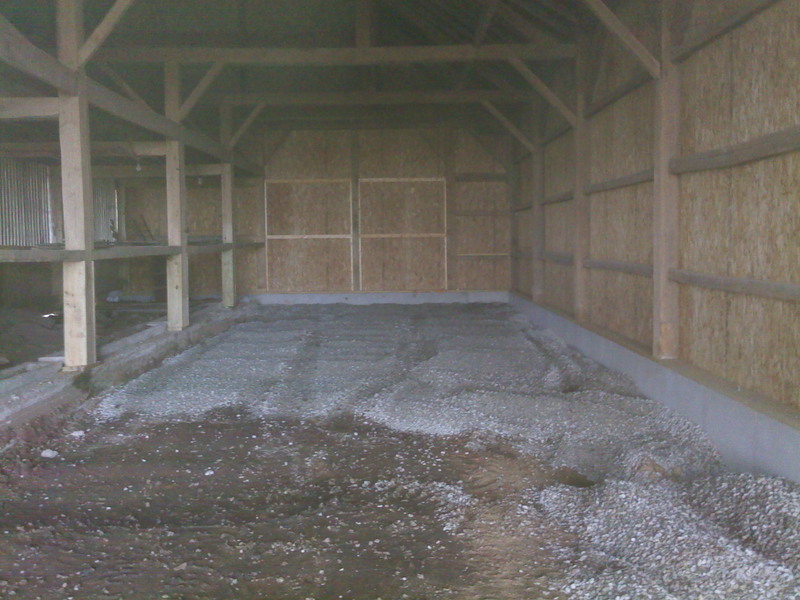
Old cement removed from under over jet area. 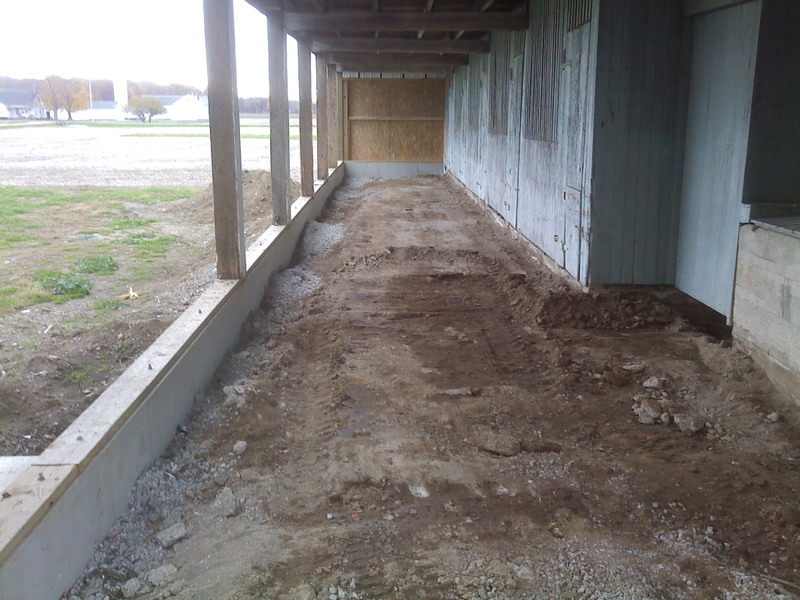
North end view 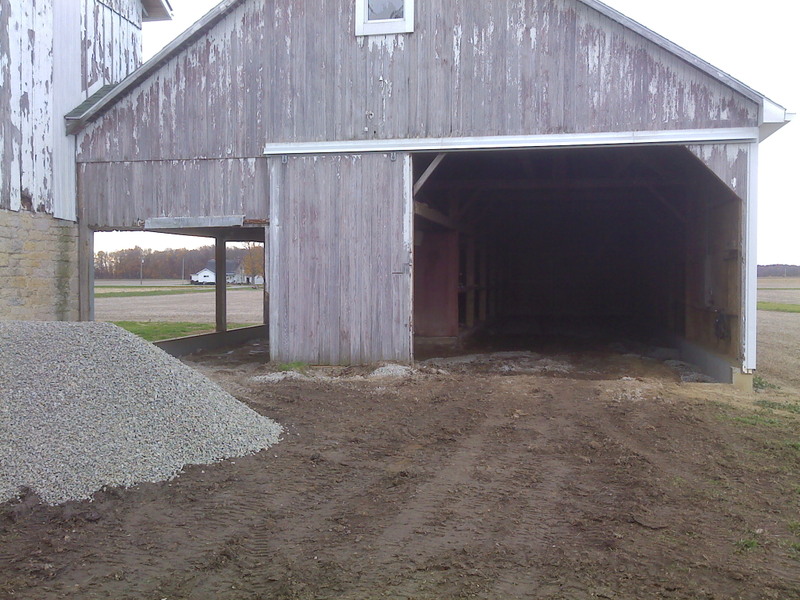
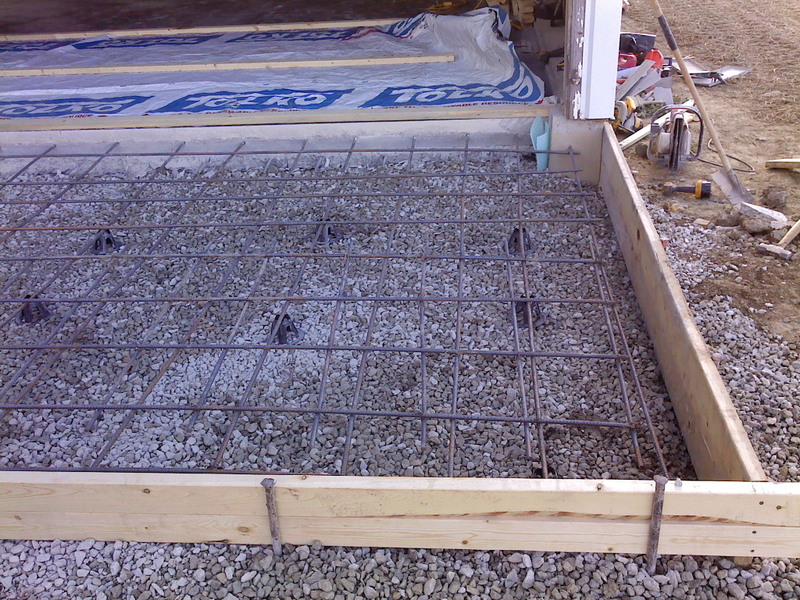
Rebar and plastic sheeting in over jet area approx 18" squares and 6" concrete due to lighter traffic and lack of heavy loads in here. 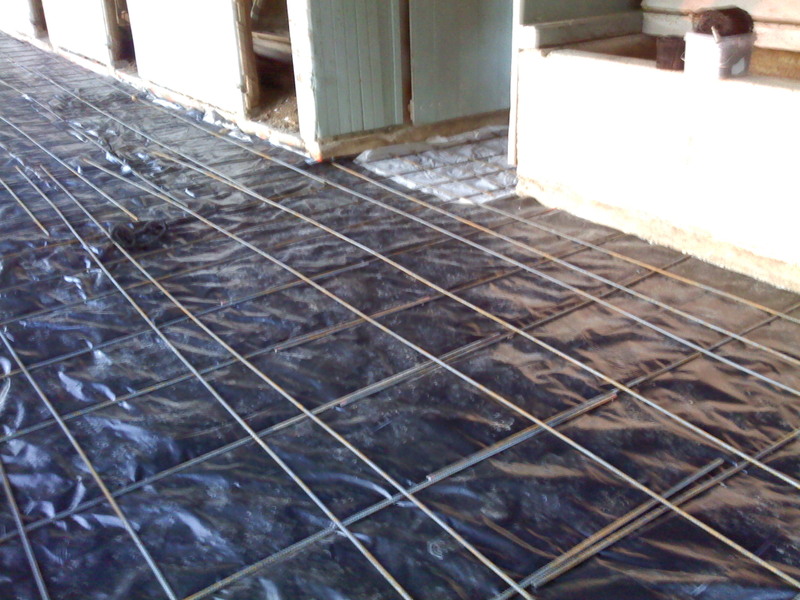
Rebar and plastic sheeting main driveway. 12" squares and 8" concrete due to heavy loads being parked in there. Want to be able to park loaded semi inside. 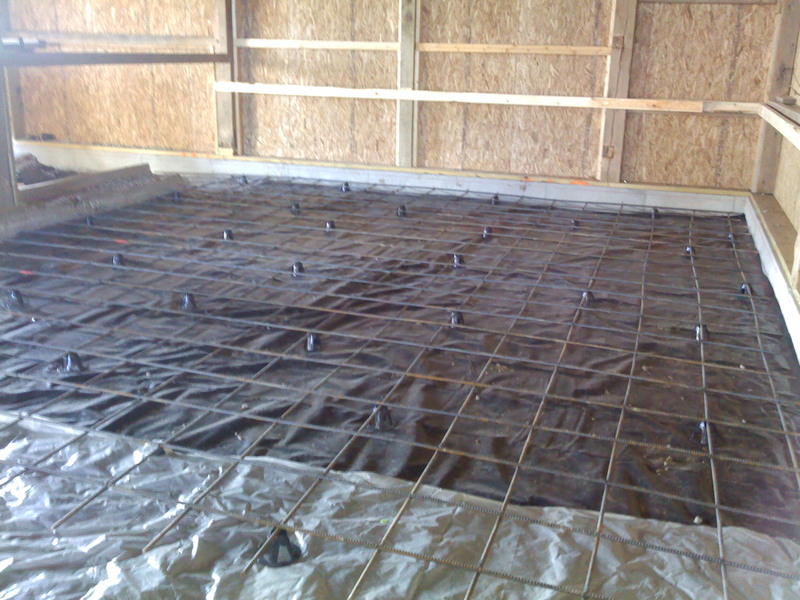
Freshly poured main floor. 
Cured and sawed main floor 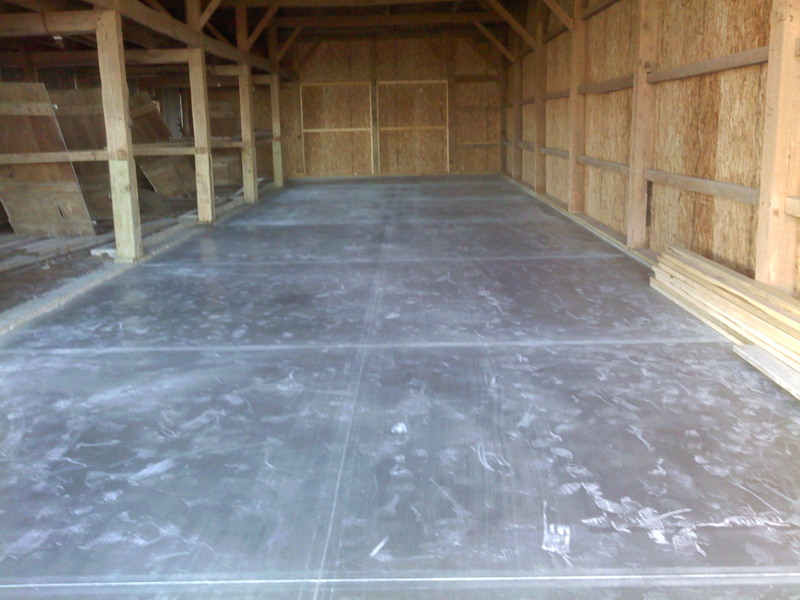
Cured and sawed over jet floor 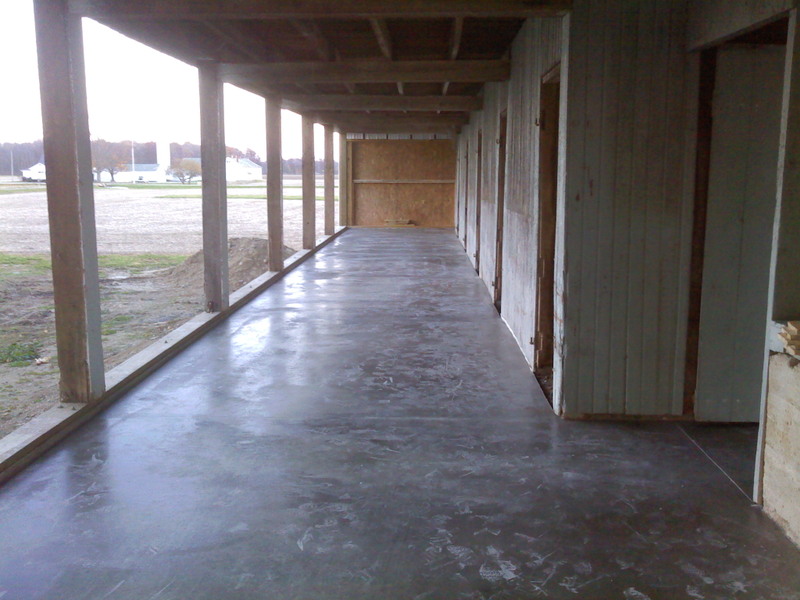
Preparing approach slab clear across North end of building. 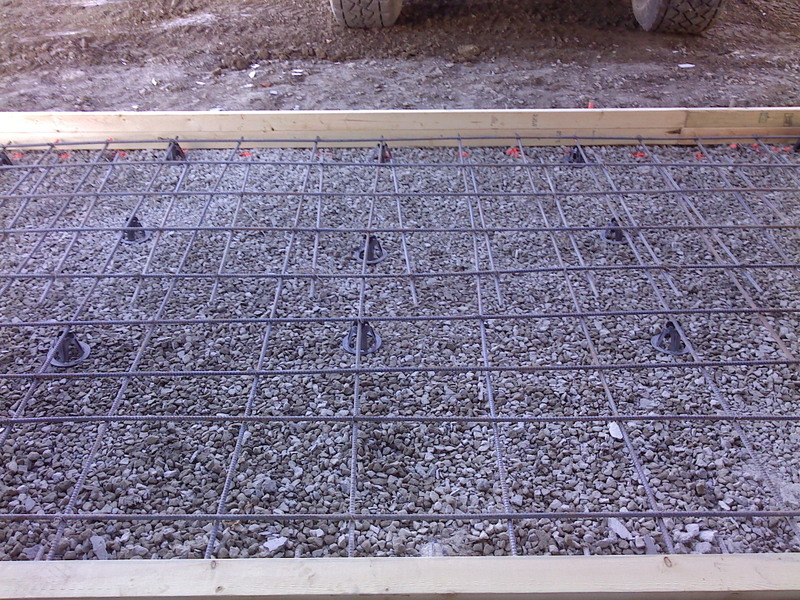
Beginning the sheeting of the North end. 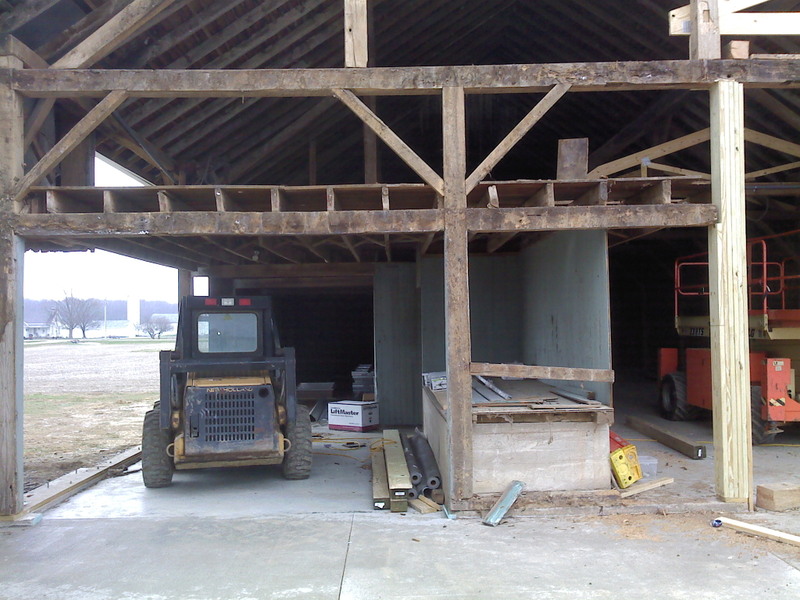

Added these trusses in the main driveway as the roof support beams now must span a longer distance to a downward support. Probably not needed but want to keep everything nice and level and square. 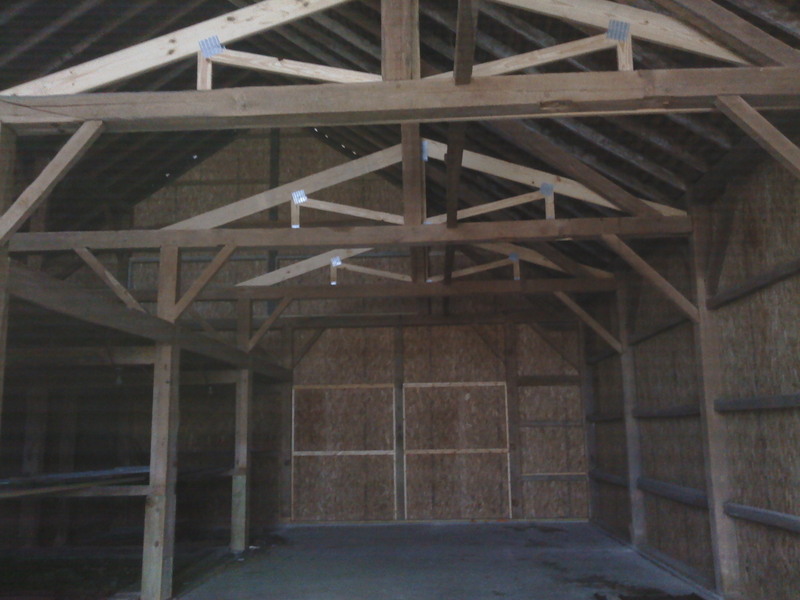
Adding nailer's & supports and sheeting North end. 
East side over jet closed in. 
Finishing up North end. 


View of enclosed over jet. Can put stacked hay wagons, baler, skidloader, small tractors etc in here and empty out larger areas elsewhere. 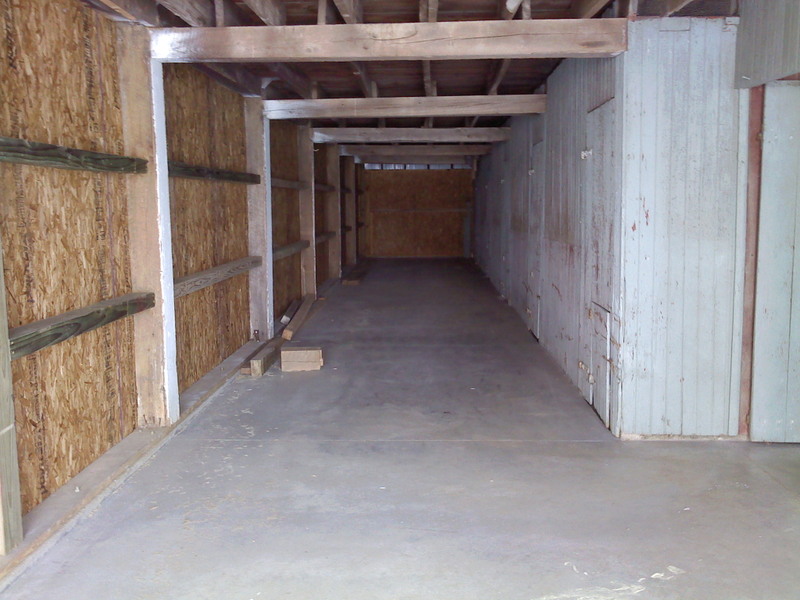
Main driveway approx 18' wide X 80' long 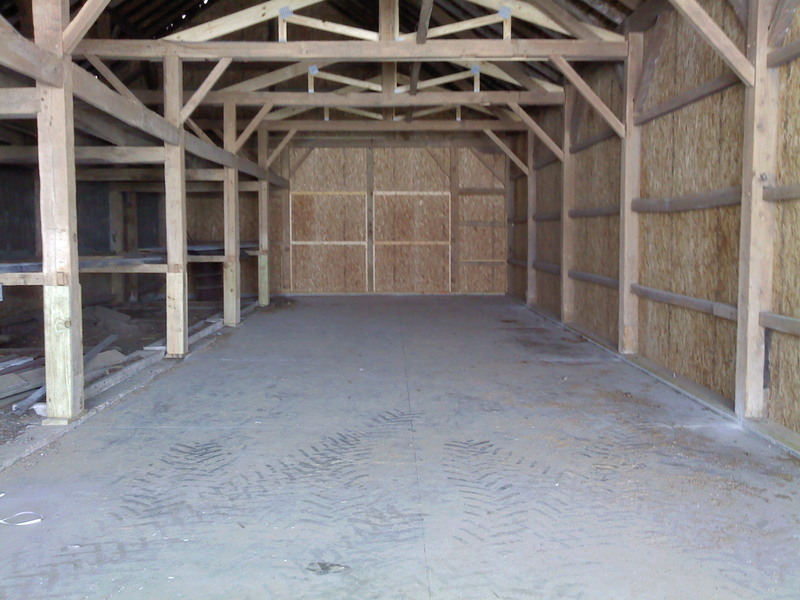
Here is the trouble spot where the 2 buildings meet. Whole lot of support buried in here via concrete and heavy timbers to support this corner. and hopefully lock out any water. This was the last area that should make this building critter tight. Dark inside no raccoons, no groundhogs, no birds. 
End of Phase 2 Phase 3 Winter of 2014 remove asphalt shingle roofing, and plywood and old lath. Sister new 2x6 rafters to all the old ones to correct any dips or sags in the roof. New 2x4 nailer's, new 3/4 T&G OSB and underlayment and on site rolled out metal locking panel roofing and completion of soffit's on both ends. This is where the advance planning was crucial to keep the new metal siding held down so that the soffit could be completed when the new roof was installed. Old roof removal on East side. 
East side removed looking up from inside. 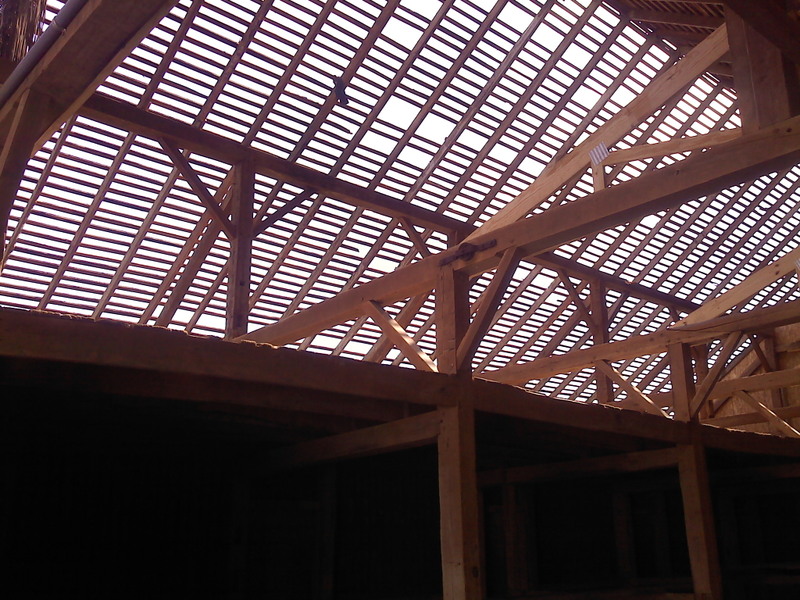
East side new rafters, nailers and OSB completed. 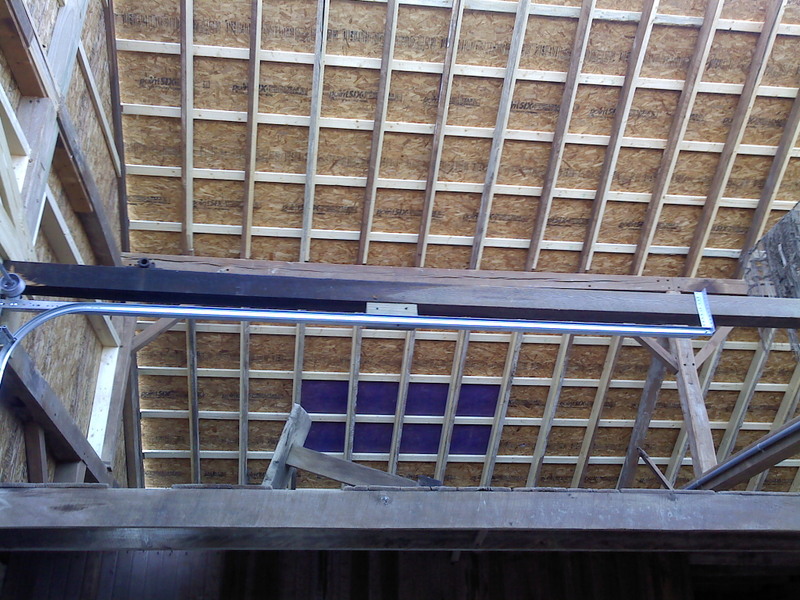
East side underlayment 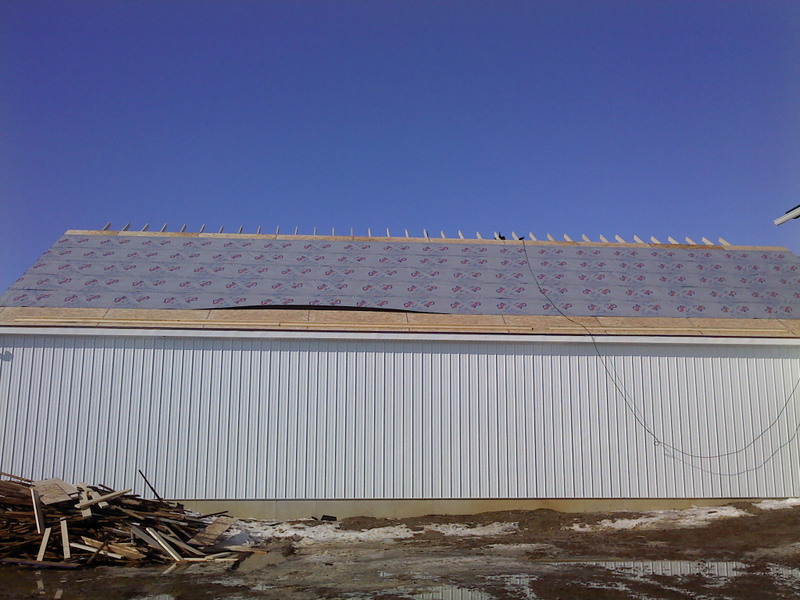
West side removed looking up from inside. 
East side ready for metal 
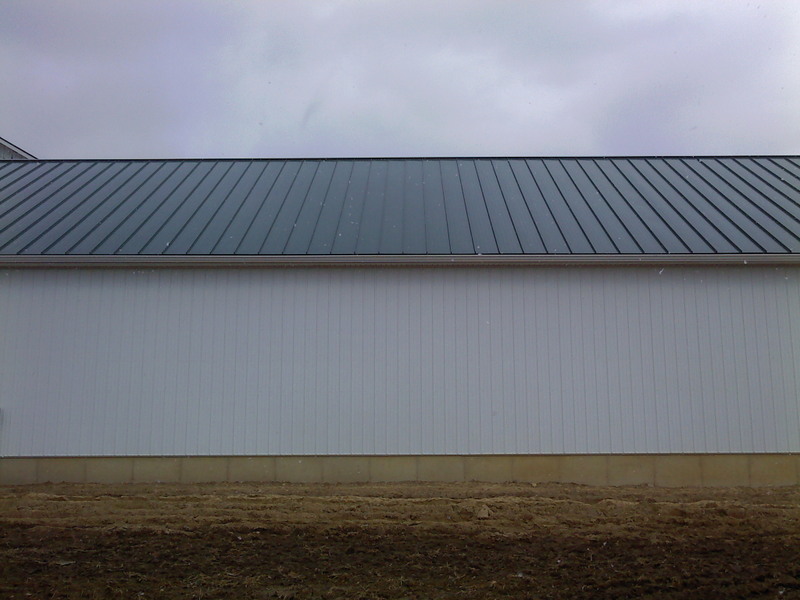
West side completed. 
Finally able to move a few items in. Removable dividers will ensure I can park things side by side in here now. 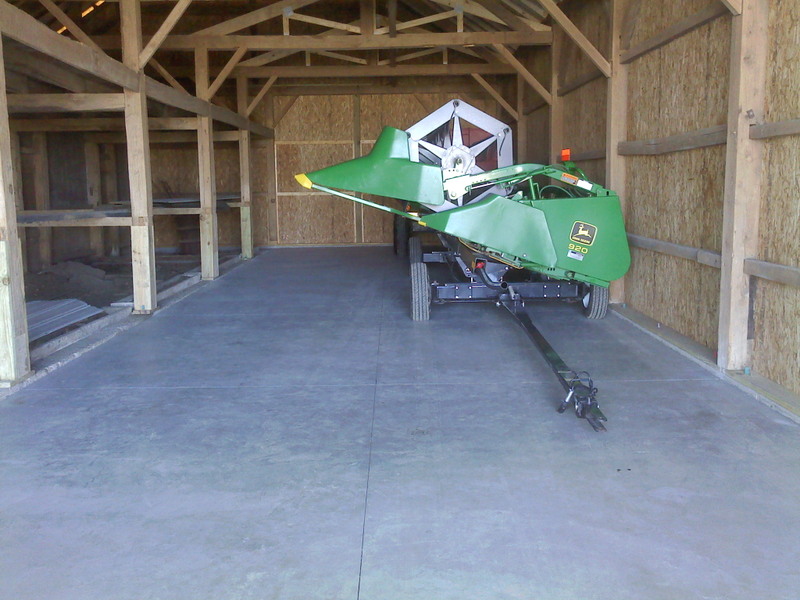
Well it's been along process but another building is finally completed. Probably not nearly as cost effective as a new pole barn but its a tribute to all who labored here long before me and trying to preserve what they built. Without the long family history behind it I would have knocked it down for something more modern and practical. However as the 5th generation and probably the last to farm for a living it's my tribute. If I tore it down it would be like telling those previous generations their struggles and sacrifices were meaningless and for nothing. Hope the sixth generation my (niece and nephew) will appreciate my preservation efforts. I'm doing this for them so they will not be burdened with it later. |  Old school barn remodel (picture intense)

