Many years ago I got tired of the pressure gauge being so far back on the drill where you could not see accurately what the pressure was with sun glare and dust. After some issues and planting part of a field with no down pressure I decided to move the gauge up to outside the back window on my 4040 tractor. With it mounted so close to the glass a quick glance in the rear view mirror would quickly confirm the down pressure was in the correct zone. This was the original 2000 mount off the rear cylinder hook. 
These 2004 pics show where I had to make a new lower bracket with a longer part to clear the pipe for the added extremity lighting that also utilized the rear cylinder hook mount. 

This past spring I decided to use the drill on the 8300 to avoid wrestling the duals on and off the 4040 between planting 30" row corn, drilled beans and 30" beans. This also let me have the 4040 hooked and setup on the planter and the 8300 on the drill. I added a second simple population monitor. 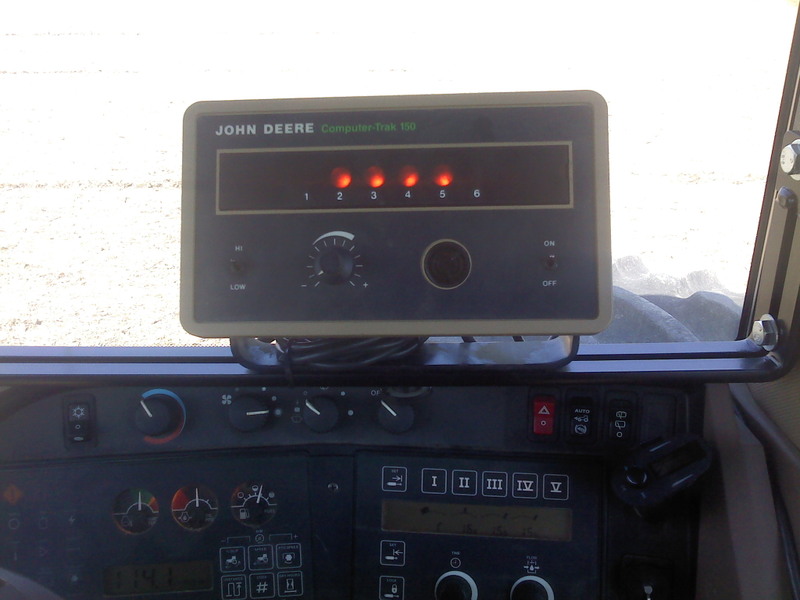
A AutoVon planting guide. 

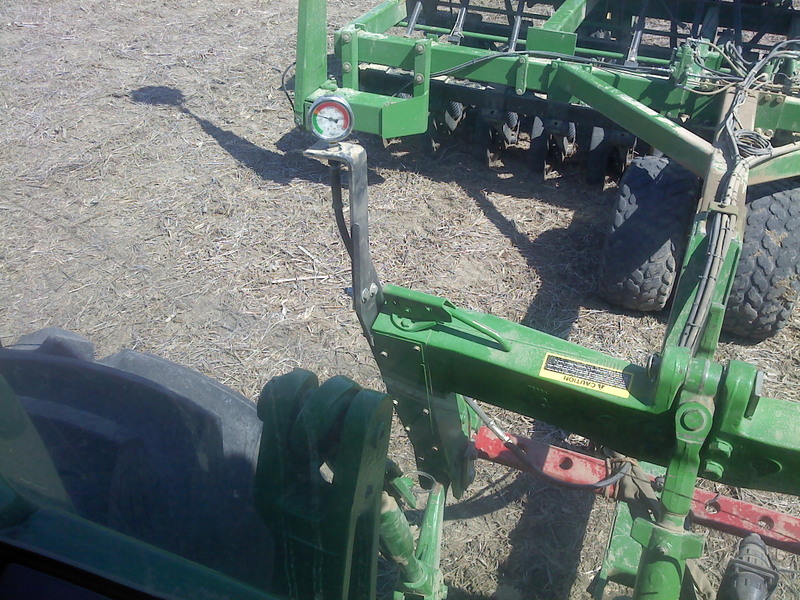
And I modified my existing pressure gauge bracket to bolt on the end of the quick hitch. 
While this was okay it was just not as handy as having it right outside the window. It took some getting used to the finger tip hydraulic controls since I have been using levers forever and it seemed awfully easy to bump the switch out of "C" mode. Quite a few times I would look back and see the gauge not showing continuous down pressure on it. I decided then that I wanted the gauge outside the front window. So with just a quick glance down I could confirm the pressure was where I needed it to be without needing to look back and distracting my concentration. I picked up a 1/4" hydraulic quick connect set and a double 1/4" male nipple and 1/4" female union from DiscountHydraulicHose.com I bent up a piece of steel to mount outside the front window and mounted it off the 2 bolts that are already holding the plate for the Baldwin by-pass filter set up. I bent a 90° in the piece and drilled a hole and welded the union into it and drilled and tapped a couple 5/16" holes for hose clamps to hold the 5000 psi 1/4" hydraulic hose. 
There was no readily available hole for a clamp at the front of the fuel tank but a oblong slotted hole was there. I drilled a hole in a small piece of plate and welded a nut in the hole. This allowed the captured nut in a plate to be slid into and bridge across the hole. Another piece of plate with a hole bridges over the slot on the outside. 
A piece of ready rod clamps the 2 plates over the hole and secures the first hose clamp. Needed the longer ready rod to be able to get everything in place and to still have room to hold the inner plate with a small magnet to get the threads started. 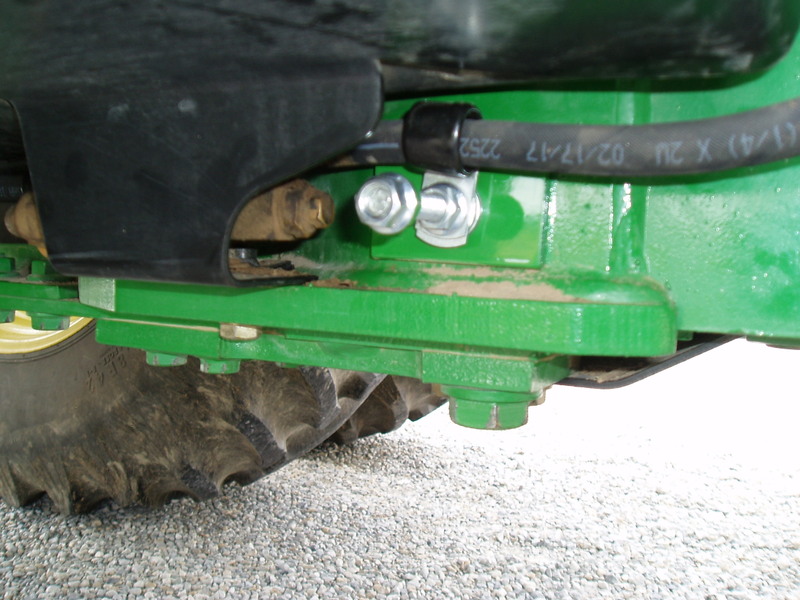
There is a jog going around the fuel line coming out of the bottom of the tank so I added 2 more clamps using the existing bolts on the tank support bracket and another in an existing hole in the boxed support. I also started the nylon sleeve protector at this point. 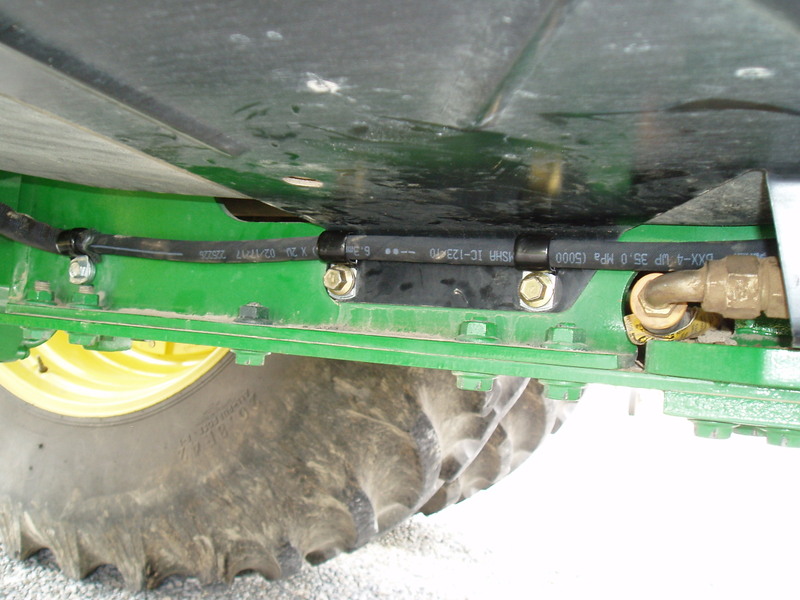
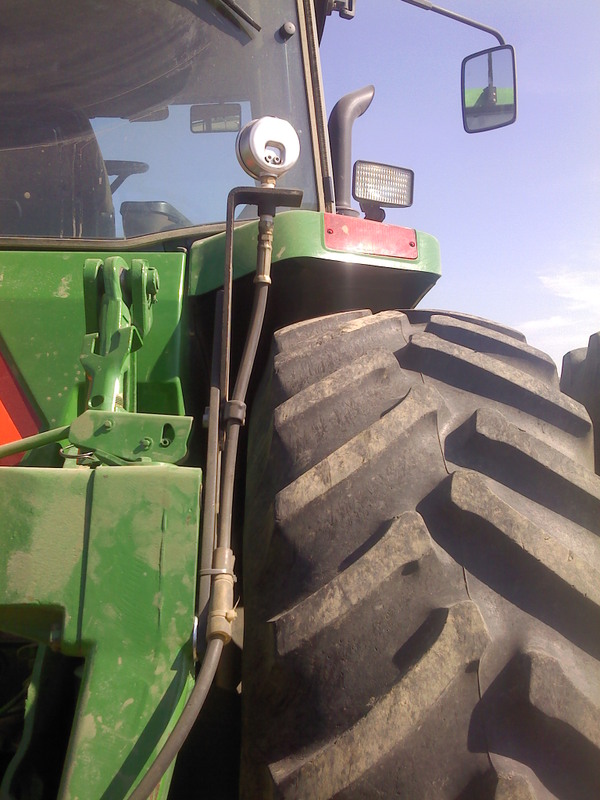
I was not thrilled about getting past the hydraulic pump as there was nothing to bolt to and no way to really support the hose. So in addition to the nylon jacket I added a piece of rubber hose to offer more protection from chafing. Will need to keep an eye on this section to see if there is any wear. I zip tied onto one of the other hydraulic pump hoses going to the top of the rear end. 
Then I went under the rear of the cab and came out by the right side casting. 
The hose threads on the double male 1/4" fitting welded into a hole on another 90° bracket bolted to the side casting by the 3 point lift assist cylinder. The female quick coupler and dust cap are on the other side of the bracket. 
Ideally the outside bracket could have been a little taller but I did not want it to interfere with removing the rear panel and if much taller it might have been prone to vibration. 
A view from inside the cab. 
The quick coupler should make it easy to hook up the hose coming off the valve on the drill and the hose and gauge can remain permanently mounted on the tractor. |  Remote 750 drill gauge version 3 (Warning lots of pics.)

