Hi all. Ok, I unfortunately had the opportunity to rebush and rebuild the shaker system on my 1680 long shoe this week. It was supposed to been done last winter, but............shtuff happens. So, here's my account of the project. I am not a mechanic, I just pretend to act like one when the need arises. The procedures I outline here are my own and most are improvised based on how I feel things should be done. They are not neccissarily the same procedures as the cih factory recomends or any red mechanic would use. So take this as simply some guys methods, not hard fact that it is the way it has to be done please. I'll start by showing the installation of the multimillion dollar tool cih had OTC tool company build for them. You remove this bolt on both sides of the machine.  Then you install the tool pieces, there is a right and left. 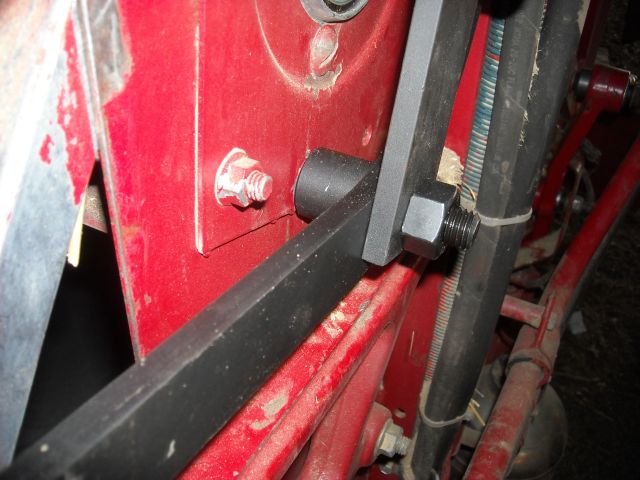 Next, and this is after you have installed any new parts including the shaft, you have 2 plates with 3 holes each. These too ahve a right and left. The plate with the smaller center hole is left. *they were'nt marked from the factory* Install the plate over the threads on the cross shaft and install the nuts to hold it in place on the tool. 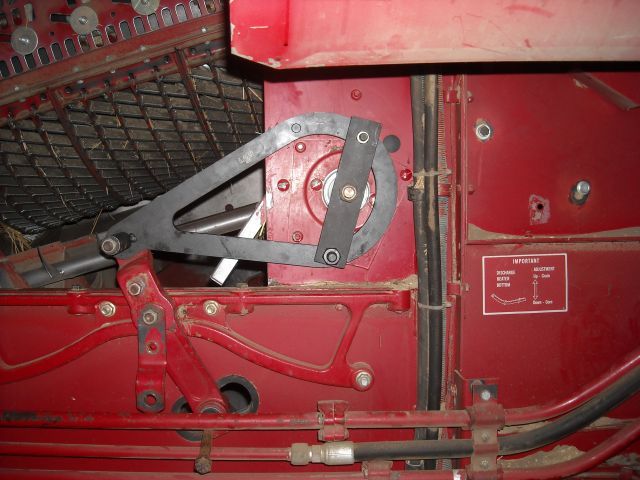 Right hand side. 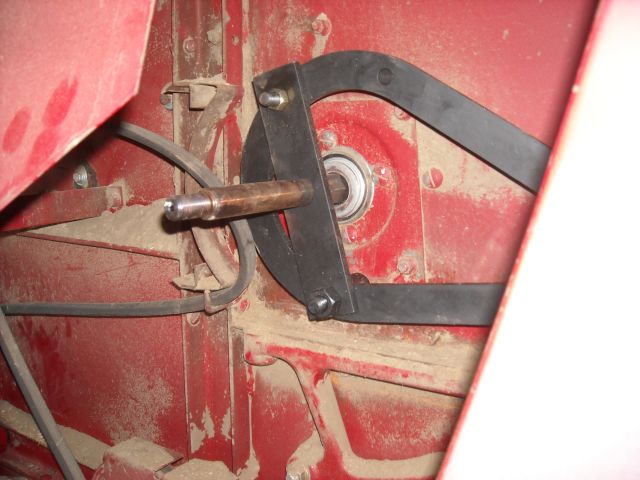 Then after you have the tool hooked to the chassis with the 3/8" bolt, and the shaft with the plates, it is time to attempt to hitch the tool to the shaker arms. Mine lined up perfectly so I did not pursue adjustment procedures much further. 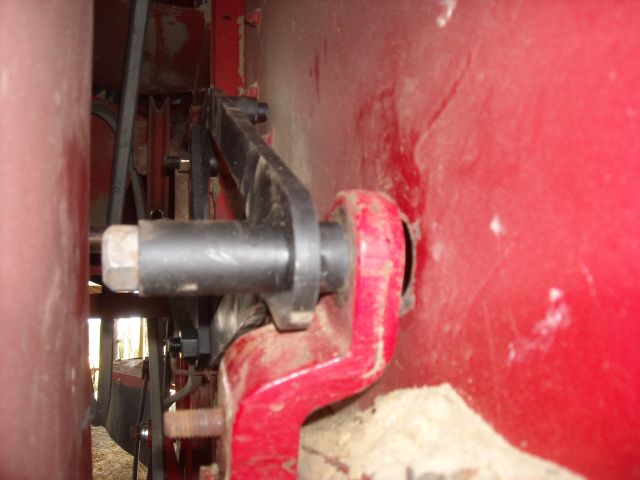 Ok, now that all the bushings are installed to my dimensions, I re-installed all the arms onto the machine first, then tightened the bolts that fasten the arms tot he chassis just enough to keep them from wiggling, but not so much to hold the center bushing sleeve from spinning freely. Then I installed the shoe pan. The long handled socket is a tool I made to allow me to change out the front shoe pan bushings without removal of any seives, and by myself. I can also use it for the rear shoe pan bolts, but it is so time consuming dealing with not loosing the tin plug and re-installing it, that I usually pull the chaffer and shoe to do those. 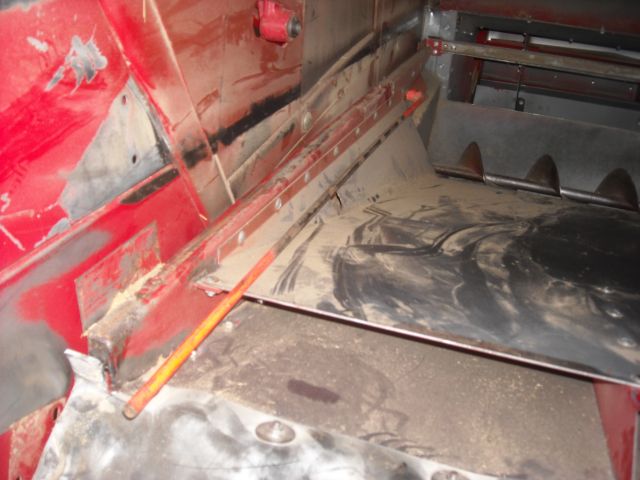 Ok, here is the front shoe arm on the left side. I push the bushings to flush on the opposite side of the arm. This usually gets me to 0 shims, but depending on the bushing set *IE: where it was manufactured* I may require 1 shim. This time I got lucky and no shims required between the bushing and shoe pan. I need to mention however, that I leave one shim on the chassis bolt between the chassis and the bushings. I was lucky and only had to push one bushing a fraction of an inch to achieve 0 shims on the shoe pan. To figure this out, before I install any bolts, I center the pan inside the machine side to side. You probably should install the seive, but once you have the pan setup for the shoe seive properly and all bolts tight, the shoe pan is a very rigid and strong box, that I dont feel it neccissary to. 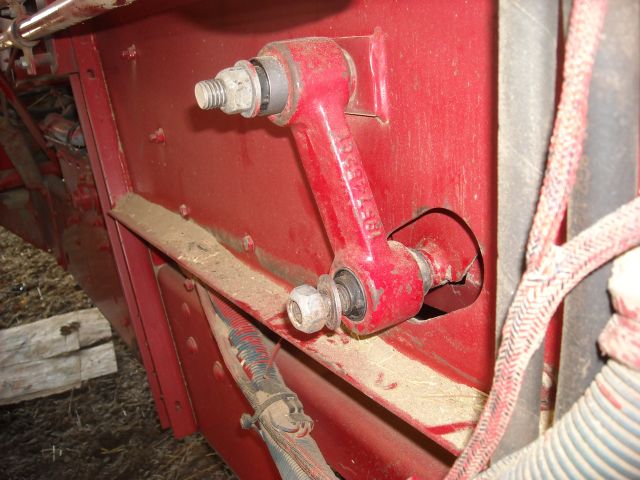 Now that I have all the bolts in the shoe pan and nuts started but not tight, it is time to install the chaffer rails. I have access to a forklift which is nice when I ahve to do this myself, but it is not required if you dont have one. You just have to improvise some. 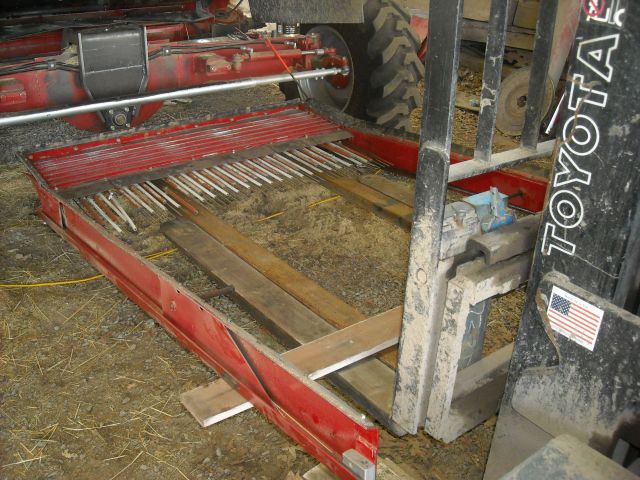 Here's something new I'm going to try. The grain pan (sawback) had cracked apart on me since the shaker drive was so wore. Thenew part is still a cheap piece of junk tin and spendy at 150 dolluhz. So I had a plate bent to the 37 degree angle and bolted it under my old sawback. We'll see if this works or just obliterates the system, but I feel it will help keep the rails and finger support channel more rigid and strong. BTW, the fingers ar enot bent, I just ahd to move some to the side to access the bolts. 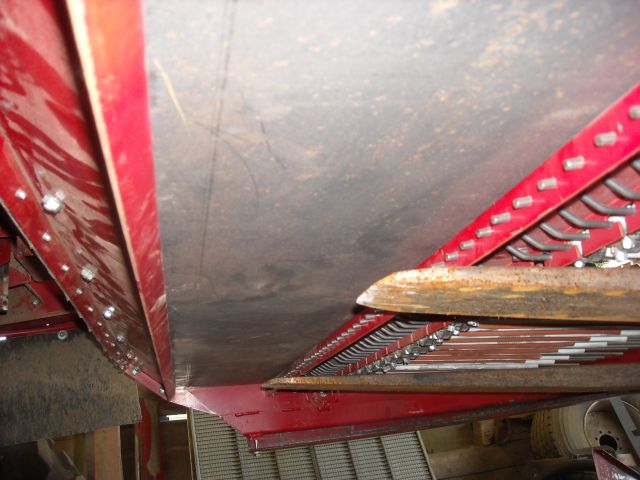 Once the rails are in place, push the bolts through the bushings but dont install the nuts yet. 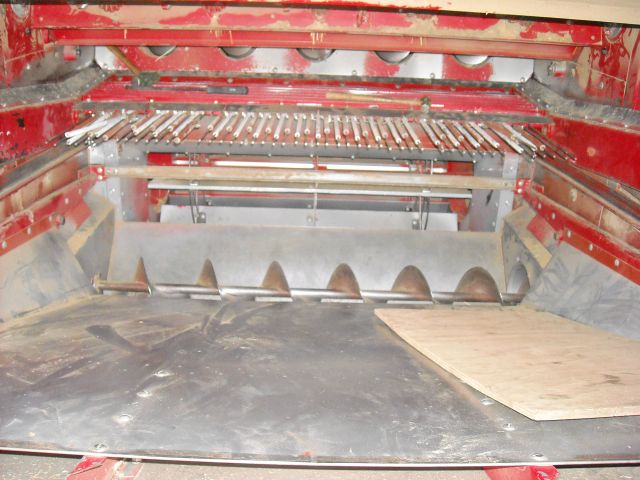 Install a chaffer. This time I am going to give a new try to an old chaffer I had around, the fixed opneing air foil. I know this chaffer fits the same dimensions as the stock cih chaffer cause I had installed it before with no line up punches needed. 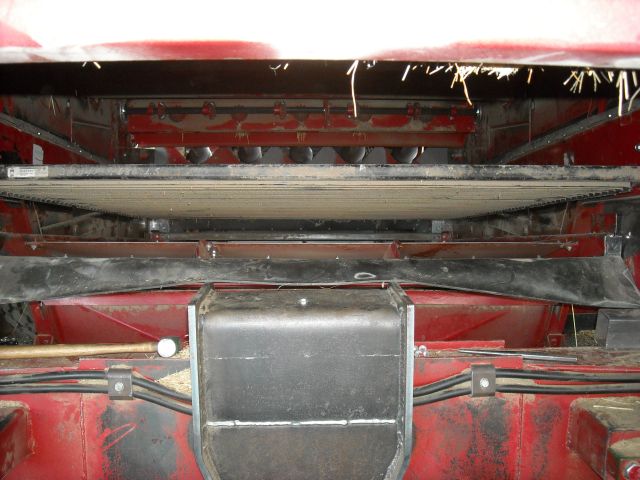 Now you can center the rail frame side to side in the combine and then look for any shims needed. On the front arms, no shims needed, perfect fit. 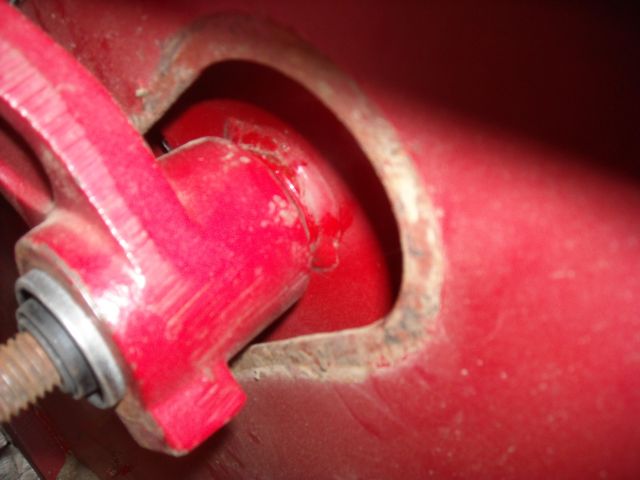 Nother view showing no space, but I did not have to pull the arm in any way either. Sometimes, you get lucky. 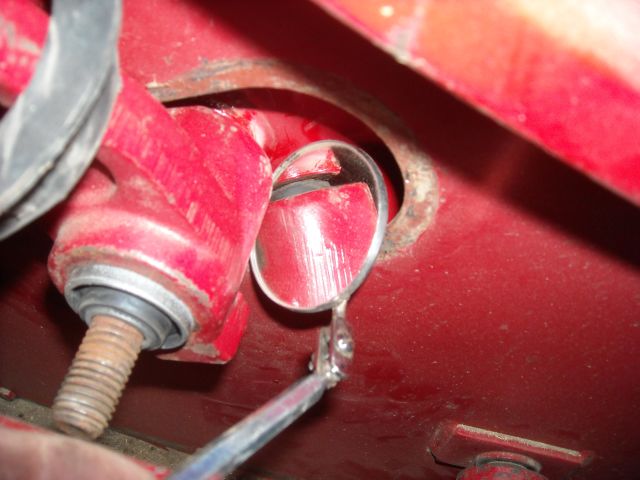 Now the rear 2 bushing points, which use a different, smaller bushing, I am out of room to press further, so I have to resort to shims. I pull the bolt and put 2 shims, which are simply a washer with a reduced outter diamter similar to a grade 8 washer. 2 seemed to fit pretty good, a little loose, but not enough room for a 3rd. Other side, same thing. So this time through, I have a total of 4 shims used to center the railsystem, both shoe and chaffer. 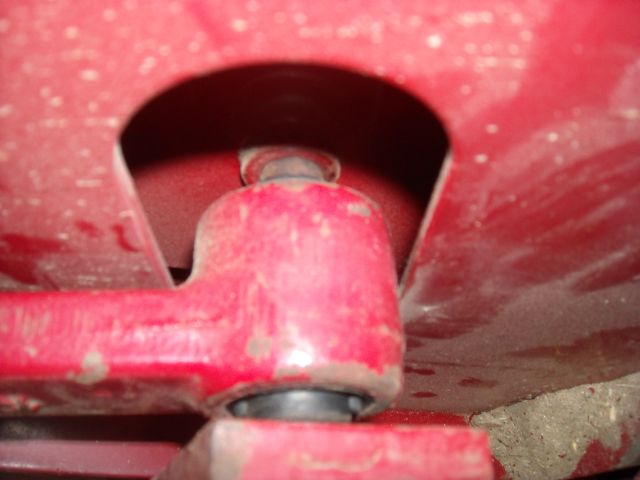 With the cih tool still installed the bushings are in exactly midstroke. Now tighten everything. I bought the cih bushing die tool this time through cause I moved my press and lost ahlf the home made pipes and punches somewhere along the way. That cih die kit is the stuff. That thing works super awesome and is not all that expensive and under 300 dollars. I plan to keep the machine for some time yet, so I likely will need to use it again. Once everything is tightened down, remove the tool, or if you dont have the tool, do your best to center the bushings before tightening, I installed the crank arms and pressed the bushings to fit perfectly. Hope this info helps someone sometime. There's a lot more that can be said, and hopefully someone with more experience will add that info to the thread. Thanks for looking. |  CIH combine shaker system R&R. (with some pictures)

